Cleaning a 3D printer bed can be tricky. Ask anyone who has tried to do so. Excess 3d filaments and other grime are not always easy to remove from the print bed.
However, when you don’t clean them, it is worse. A dirty print bed means you will likely run into printing issues such as reduced proper bed adhesion.
Reduced bed adhesion can be a nightmare. You need the printed parts to stay stuck to the bed while printing, else what you are printing can fall apart. This wastes time and material. But removing dirt, oil, dust, and grime from the print bed can be a complex process.
Below we talk about how you can successfully clean different kinds of print bed surfaces.
Glass print bed
The glass print bed is a universal print surface for 3D printing. Borosilicate glass is the most common material used for this printing bed surface.
Glass print beds with heating abilities are better for adhesion and also easier to clean.

When to clean it
How often you should clean your glass print bed is linked to how often you use it. The more frequently you use it, the quicker it accumulates dirt and grime. The more times you need to clean it.
Generally, here are a few tips to keep in mind as regards when to clean your printer bed:
First, after every printing session, scrape the print bed you worked on. This is to avoid residual buildup of filaments and other materials on it.
After a while, you might notice that prints no longer stick as well to the print bed. They may even entirely stop clinging to the print bed. This usually occurs in a month or so.
When this happens, this is your cue to do more than just regular scraping as your cleaning routine. It would help if you tried scrubbing your print bed through with soap and water.
After a while (2-4 months on average), scrubbing with soap and water may no longer cut it as a cleaning option. When this happens, you will need more advanced solutions. It would be best if you tried Isopropyl alcohol (IPA) then. IPA is a very tough and effective cleaning solvent that should get your print bed cleaning done nicely.
How to Clean glass printing bed
Glass beds are a preferred printing bed type among 3D printing experts. A reason for this is that they make it easy to print 3D objects with smooth surfaces. However, glass plates are often coupled with adhesives to help enhance the printing process.
However, these adhesives, as well as filaments, need to be removed after every printing session. Else they will cause issues with your printing. Below we look at a couple of ways you can effectively clean your glass print bed.
The easiest method, and the one you should do after every printing session, is to clean the print bed with a scraper.
If you are trying to scrape on an excellent surface, you may have a difficult time. To make it easier, raise the glass bed temperature, so it matches the melting point of your filaments. This makes it easier for you to scrape off the debris gently. Be gentle and careful during the scraping process. Otherwise, you may damage the printing surface.
Sometimes scraping may not be enough. Then you will need to use soap and water for your cleaning procedure. It is essential before doing this that you detach your printer bed. Else the water might get into sensitive parts of the printer and cause damage.
When using water, it should be warm water. It is similar to the reasoning behind heating the print bed before scraping. It would help if you softened the filaments so they come off quickly. The soap water also effectively cleans out the adhesive agents used during printing.
Sometimes these methods are not effective at cleaning. You can look at advanced cleaning solutions. These include window cleaner, concentrated isopropyl alcohol, acetone, sterile alcohol pads.
Which of these agents you eventually end up using depends on some factors. Chief among these is the kind of material you want to clean off. Also, ensure the solutions are not extremely powerful, so you don’t damage your print bed.
The isopropyl alcohol should not be less than 70% concentrated. When using acetone, ensure you get a cloth pad or a paper towel to wipe the surface. You apply acetone to the cloth then wipe the surface with it.
Keep in mind that acetone is a highly flammable substance. Consequently, you should do your cleaning with it in a well-ventilated place.
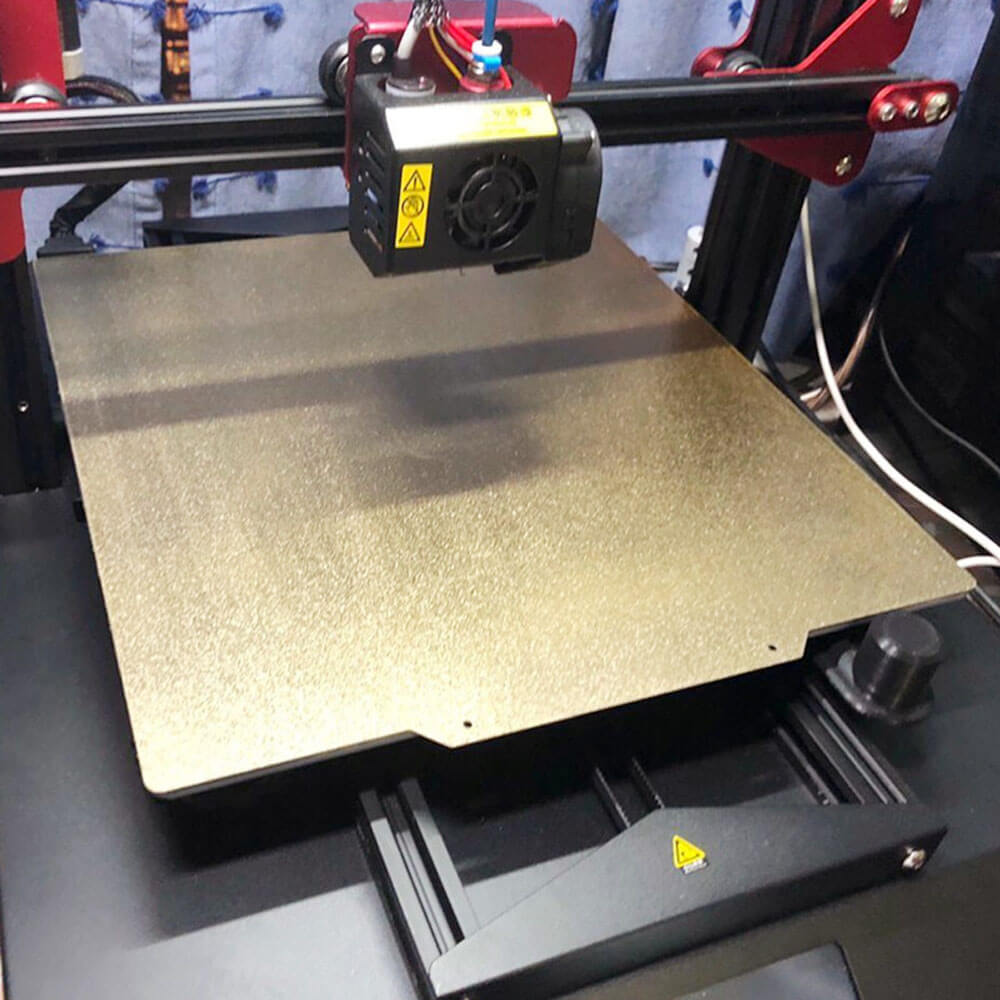
PEI print bed
Polyetherimide, also names PEI, are adhesive plastic sheets. It is a kind of surface for your print bed. It is regarded as a relatively “maintenance-free” build surface.
PEI can work with all types of filaments on heated or unheated print beds. Also, they do not require additional adhesives before use.
When to clean your PEI Bed
You should clean your PEI bed after every use. This helps prevent filament residue and other contaminations from building up on the surface. When your printer has been lying idle for a few days, it might accumulate a bit of dust. You should do mild cleaning then.
When you notice the PEI print bed surface isn’t sticky as usual, this is your cue to clean it. Loss of adhesiveness is typically due to the buildup of filament residue and debris on the surface of the printer bed. At this point, you may need a stricter approach to cleaning it.
How to clean PEI bed
Cleaning your PEI print bed surface can be done using some methods. The more intensive the use of the print bed has been, the more challenging your cleaning approach. Here are a couple of cleaning methods that work fine for cleaning a PEI print bed.
Cleaning a PEI print bed with acetone or brake cleaner works pretty well, even in tough cases. Acetone and brake cleaner are pretty strong agents and should be used cautiously with most surfaces.
However, a bonus is that the PEI surface is resistant to possible damage caused by the use of acetone or brake cleaner. This is as long as you don’t go overboard with the cleaning process.
Stubborn filament residues that won’t come off quickly are an issue for many 3D printers. However, Acetone and brake fluid are top solutions for this issue. Cleaning with acetone should not be done very often. Else the surface may become brittle. A week or more is an appropriate interval between cleaning sessions with acetone.
Not all cleaning cases require acetone. Sometimes all you need to do with your PEI surface is just essential cleansing. This is especially when the surface is just dusty or slightly dirty. Here, you can dampen a cloth pad with soapy water and wipe the surface gently.
Isopropanol works well for standard or intermediate level cleaning on PEI surfaces. It is best for cases that require more than a simple wipe with soapy water and do not need acetone or brake cleaner level cleaning.
When using isopropanol, first ensure the surface is excellent. This is because the substance is volatile and evaporates quickly. Therefore a warm feeling will lead to even quicker evaporation. Let the shell cool, then apply isopropanol.
After applying isopropanol, you should wipe the surface gently with a paper towel, a cloth pad, or a soft sponge. The isopropanol solution used should be 99%.
Adhesive Tape
There are different kinds of adhesive tape. Two examples are painter’s tape and polyamide tape. Painters tape is a thin paper coated with a pressure-sensitive adhesive that is quickly releasing on pressure.
Polyamide tape can withstand high temperatures up to 280°C and coat on one side with silicone adhesive.
When to clean it
There are different kinds of adhesive tape. Two examples are painter’s tape and polyamide tape. Painters tape is a thin paper coated with a pressure-sensitive adhesive that is quickly releasing on pressure.
Polyamide tape can withstand high temperatures up to 280°C and coat on one side with silicone adhesive.
How to clean it
Adhesive tape is relatively difficult to clean. However, you gently scrape the surface with a spatula to remove residual filament. Scrap gently and evenly so you don’t damage the tape.
During cleaning, you may come across areas where the tape is peeling or torn. You should patch these areas carefully and evenly. The places you should look out for are those where the most movements occur.
You will eventually need to resurface the bed. To do this, you should scrape and peel off the previous layer of tape. The mattress underneath can be cleaned with soap and water to remove residual adhesives.
After cleaning and drying, you can proceed to lay a new layer of tape. To do this, you should stretch the tape across the entirety of the bed, then press any air bubbles from below the tape till the surface becomes as level as you can get it to be.
ECOREPRAP’s main business has shifted from 3D printing filaments manufacturing to 3d printing services and CNC machining services since 2023. We will continue to share related blogs about filaments and CNC machining.