15 CNC Machining Tips for Beginners
Updated: December 05, 2023
Table of Contents
- 1. Start with the Most Common Materials
- 2. Purchase Versatile, High-Quality Cutters
- 3. Purchase a High-Quality Vise, a Set of Parallels, and a Clamping Kit
- 4. Get a Good Misting System for Coolant
- 5. Use Protective Gear
- 6. Use a Spindle Speed and Feed Calculator
- 7. Purchase a Z-Height Measuring Device and an Edge Finger
- 8. Purchase a Fluctuating Caliper
- 9. Tram Mill and Vise
- 10. Learn CAD modeling and CAM
- 11. Learn the Basics of G-Code
- 12. Learn How to Use Manual Data Input (MDI)
- 13. Use Conversational CNC Control
- 14. Avoid Unnecessary Complex Designs
- 15. Know Your CNC Unit
- 16. Summary
Introduction
If you are completely new to CNC machining, you need a hand of help. Yes, you would require extensive knowledge of the manufacturing process with CNC-machined parts. It takes time and effort to truly master CNC machining.
In this post, we will share with you some valuable tips for your CNC milling project, including design tips material choice, and drill bit suggestions. They will help you to reduce machining time, and avoid unnecessary expenses, common failures, frustration, and even injuries. So, manage it to the end of the post!
Our suggestions are listed in descending order of complexity and priority. So just start reading from the first to succeed in the CNC machining niche:
1. Start with the Most Common Materials
Avoid purchasing difficult-to-machine metals, such as stainless steel. Begin with aluminum or brass as they both are cheap and can be machined using the most basic cutters. Your first cuts must be performed over the soft metal reducing the risk of tooling failure.
Finally, face milling may be used to simply separate or cut a workpiece into several sections or several smaller workpieces. There is specialized machinery for this purpose, but for example, rapid manufacturing allows machinists to show a certain degree of creativity.

2. Purchase Versatile, High-Quality Cutters
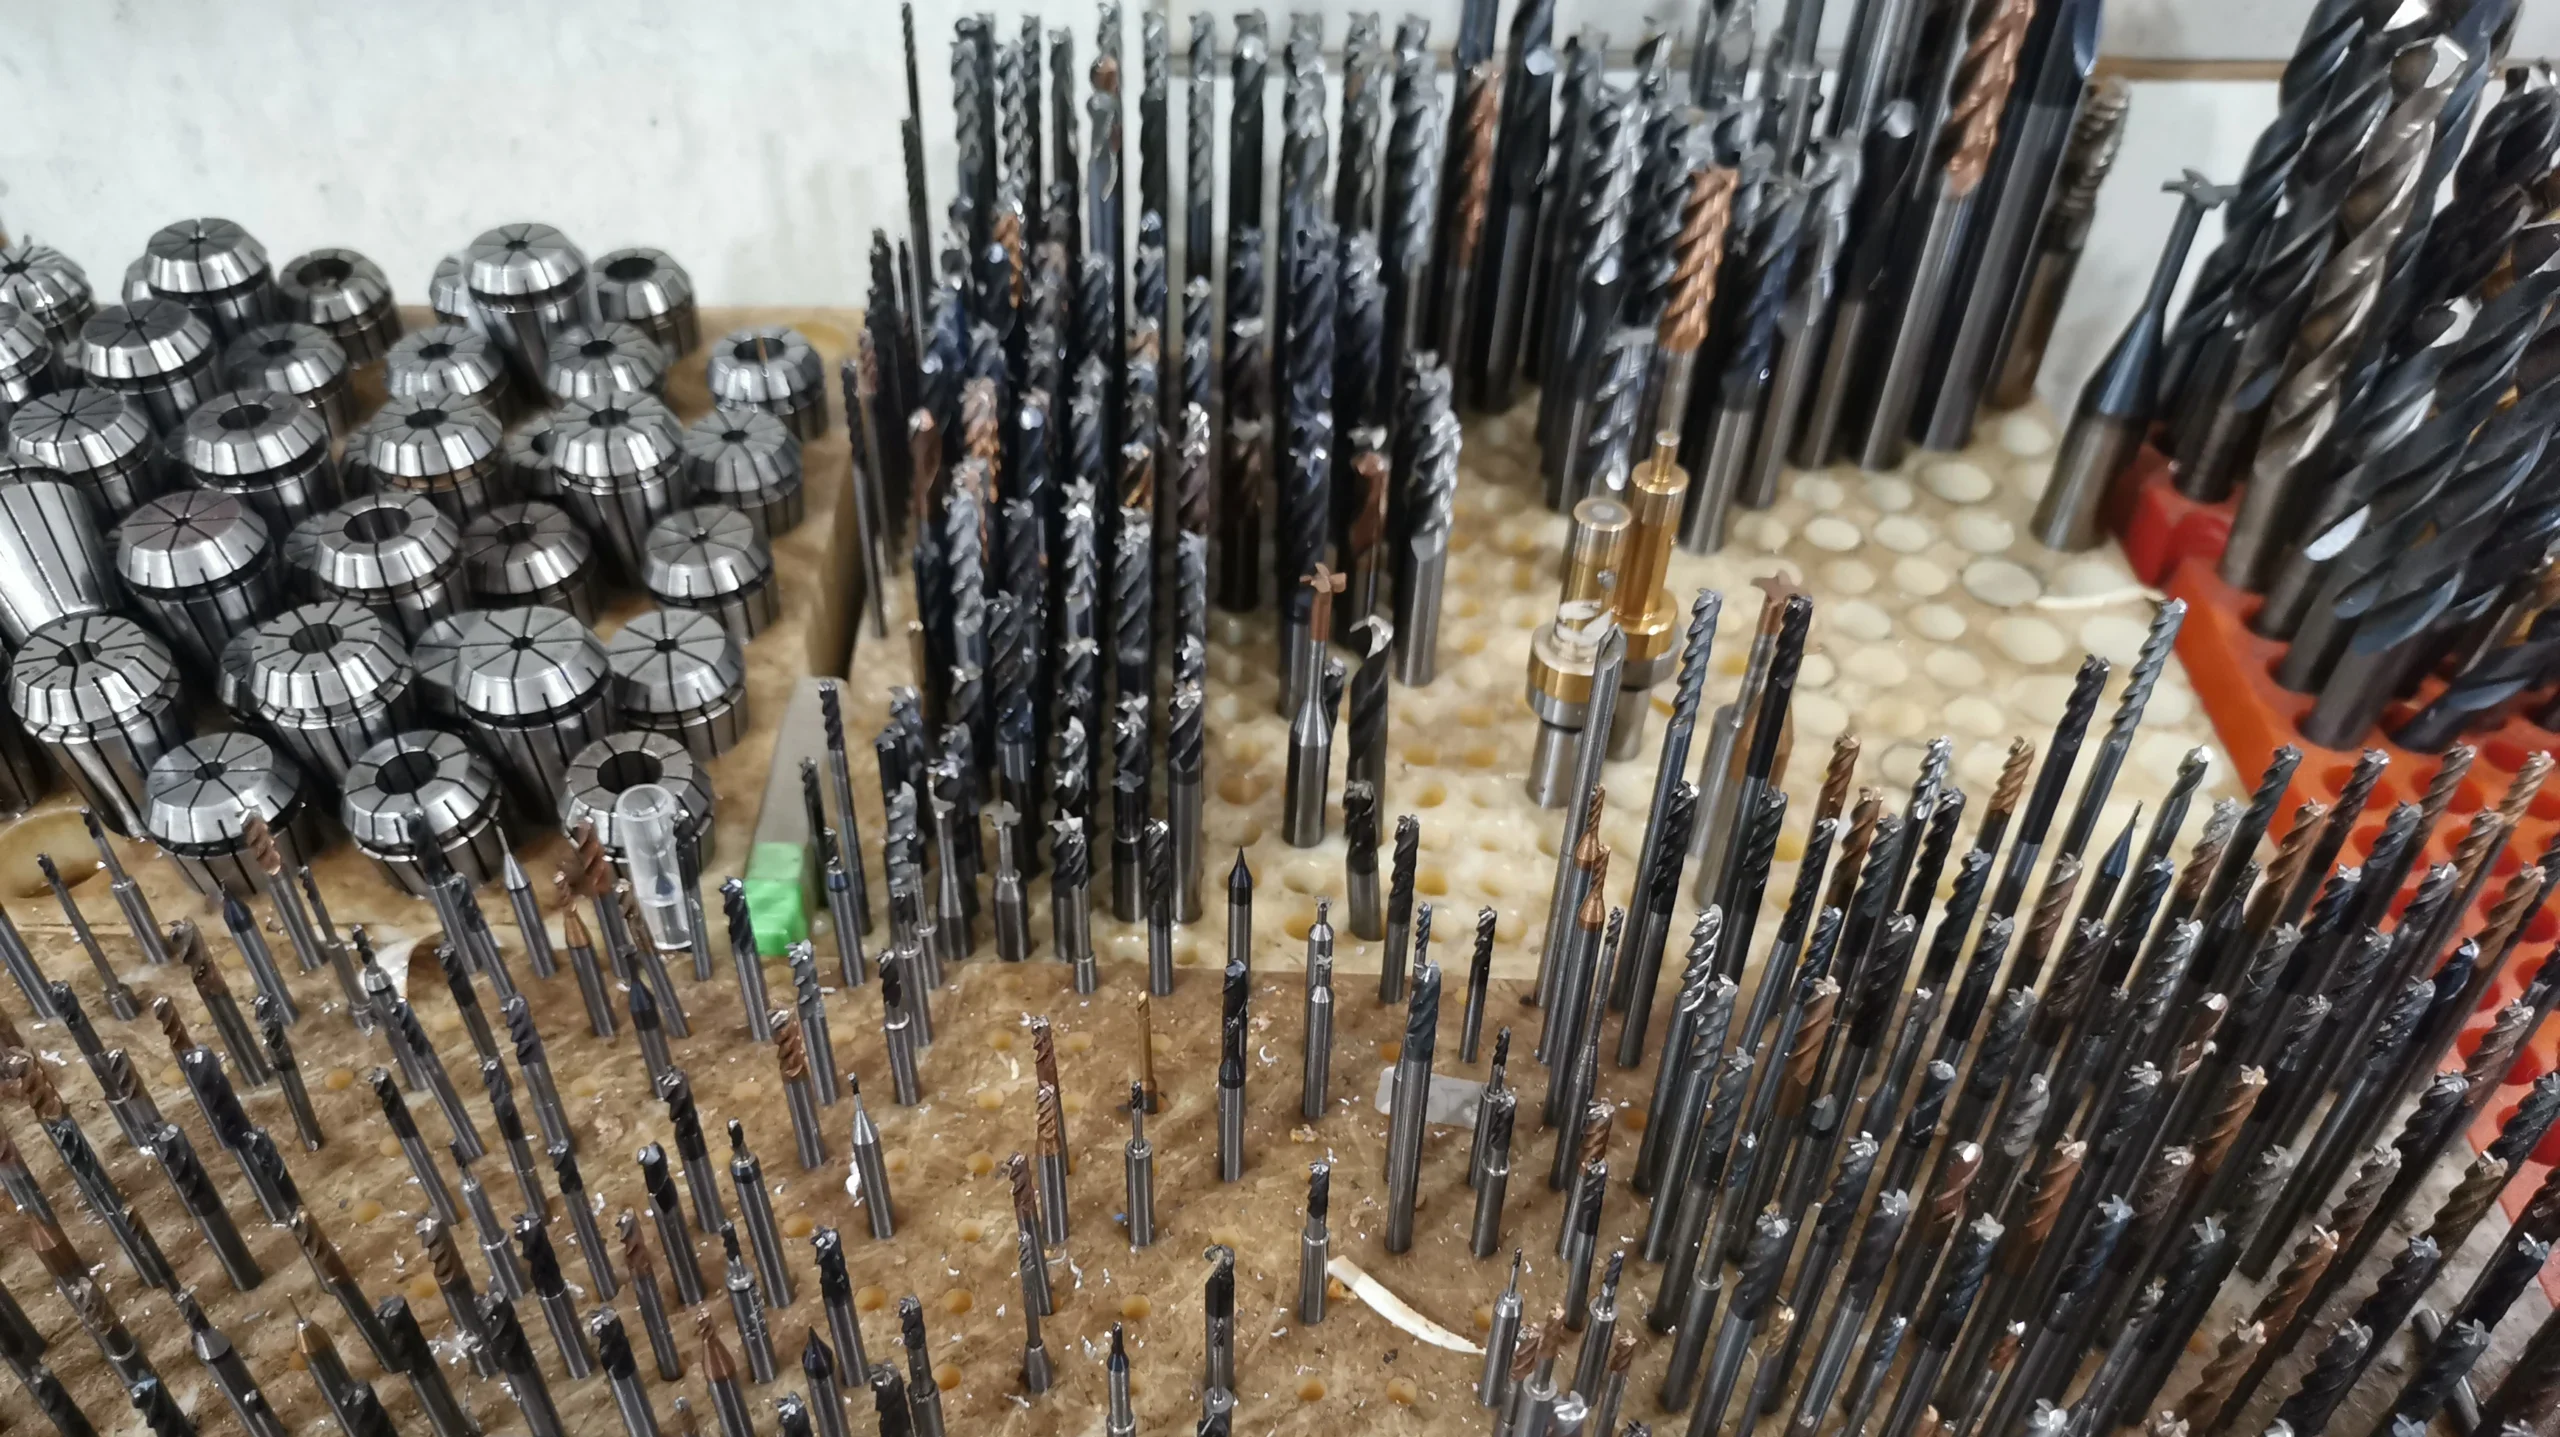
Probably, you do not consider investing much from the start. But there are plenty of good options from well-known brands that offer decent quality at an affordable cost. Only this aspect can help to prevent a pile of problems such as poor machining quality, inability to set up a cutting tool properly, a cutting tool failure, and others. Look for ones with carbide inserts, as they last for longer.
Besides, it is always the right call to purchase sets of cutters. Tooling there is selected in the way they cover the full range of sizes, so you always have a needed cutter for your project.

3. Purchase a High-Quality Vise, a Set of Parallels, and a Clamping Kit
It is unlikely that your CNC equipment unit has all of those supplied altogether. So, you cannot start machining without getting instruments for workholding. Your vise must be reliable to prevent a workpiece from shifting out of a position. A clamping kit will mount the vise to the worktable. Finally, parallels will keep your workpiece raised evenly.
4. Get a Good Misting System for Coolant
Again, your CNC unit may not have a misting set included in the supply. So, get yourself the micro-drop system. Unlike a siphon-based one, it keeps coolant and the air in separate chambers. It makes the cooling your cutters down less messy.

5. Use Protective Gear
You do not want to get injured from a failure cutter, do you? Metal chips shooting on all sides also hardly can make your day way better. So consider purchasing a pair or two of protective gloves and not neglect using them. The same concerns safety glasses. Also, never perform any interventions over your CNC unit while it is still performing a set of commands.
6. Use a Spindle Speed and Feed Calculator
Once planning your machining project, have all the parameters precisely calculated. Use for this purpose free calculators hosted on websites. They will help you to measure the needed speed and feed and other rates.
Such calculations are essential as they affect the quality and efficiency of machining. Besides, setting the optimal parameters prolongs the tooling life greatly. So, always consider planning the optimal settings.
7. Purchase a Z-Height Measuring Device and an Edge Finger
Your CNC unit must know exactly where the tip of your cutting tool is placed. It enables the automated system to navigate spindles across the worktables while following your commands. The touch tool will tell the machine where the tip is on the Z-axis.
However, to proceed in the same way with the X and Y axes, you need another tool called Edge Finger. You should use it to set the zeros – starting points for your CNC unit. It is performed over your vise once after you mounted a workpiece and inserted a cutter.
8. Purchase a Fluctuating Caliper
It is another device without which you cannot start using your CNC unit properly. Calipers measure the thickness of your workpieces/stock material for you to get the correct height measurements.
Take measurements in multiple points across the X and Y axes and record the smallest value. Subtract the desired height from this measure to receive the thickness of the layer you need to cut off. You need this procedure to get a flat surface before proceeding to the actual machining of a component.
9. Tram Mill and Vise
In case you are not familiar with this definition yet, the tram is the squareness of your mill head to the worktable. Tramming is squaring up the Z-axis so it is perpendicular to a level router table in both X and Y directions. See how to ensure that cutting tools and milling surfaces are perpendicular to the table in the image below.
10. Learn CAD modeling and CAM
For advanced machining, you need the intended components to be precisely modeled. Computer-aided design (CAD) software allows you to do so. It is actually a no-brainer, and you can model any part in a 3D environment using the popular, free programs.
Besides, you should learn how to use computer-aided manufacturing (CAM) software. It helps to create G-code files that control your CNC equipment unit. You can hardly start machining automatically without using CAD and CAM software.
11. Learn the Basics of G-Code
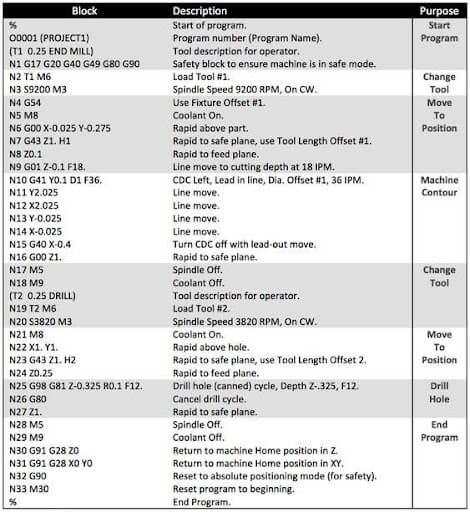
It is simply the CNC machine logic that dictates the movements of the CNC equipment unit’s spindles along axes. Your CAD models may be converted into G-coded files automatically. But still, there will be plenty of mistakes that you will have to fix manually.
Anyway, knowing some G-coding will advance your understanding of how CNC machines work. This way, you will start using principles of CNC machining way better.

12. Learn How to Use Manual Data Input (MDI)
Once you are familiar with G-code, you may start adjusting your files right from the CNC machine’s control panel. It necessarily has the MDI keypad from which you can input or erase lines of G-code directly in the program being currently set. You also can move axes manually, set X, Y, and Z coordinates, and make other changes. The machine will move once after the command confirmation using the “Rapids” code command.
Such an approach will greatly increase your productivity as you will not need to change the G-coded program via your computer and upload updated versions again and again.
13. Use Conversational CNC Control
MDI control panel allows you not only to adjust the pre-loaded files with G-code. It also has some modeling functions built into it. Use the panel and select a necessary operation from the pop-up menu. The CNC unit will give use some options using which you can produce the most simple parts. For example, cut a triangle or a circle out of a square workpiece, and so on. We recommend using this function to test the new tooling only.
14. Avoid Unnecessary Complex Designs
Surprisingly, this tip is less related to your level of proficiency in CNC machining. It is rather a good modeling practice that you should consider following while creating your components.
Besides, avoid creating thin walls. Consider 0.794 mm and 1.5 mm to be standard wall thicknesses for metal and plastic, respectively. Avoid excessively tight tolerances. There is no point in machining as precisely as possible. You should aim at machining effectively and maintaining homogenous tolerances where possible.
Finally, take into consideration the depth-to-width ratio and do not make cavities that are more than 4 times deeper than their diameter.
15. Know Your CNC Unit
Perhaps this tip does not sound meaningful, but actually, most beginners forget the important thing. Your CNC equipment unit is limited in its capabilities, meaning it cannot produce all the designs that you can model. Depending on the type of unit, the number of axes, and tooling, some designs may not be possible to machine.
Besides, avoid modeling impossible for your CNC unit components and elements, such as curved holes. Unless you feature Electrical discharge machining, of course.
16. Summary
Hopefully, you are not struggling with the amount of new info, but on the contrary, are willing to give all these tips a try. Carefully consider all the above-detailed before/after purchasing your first mill, router, lathe, or any other CNC unit. Together with a supplier’s manuals and the guidelines that you’ll receive from our sources, these tips will do you a world of good.
CNC machining is a complex but incredibly interesting activity to master. After all, it enables you to create absolutely all the goods that you can desire yourself.