Not all problems in 3D printing lead to complete project failure. There are times when it’s just a minor imperfection, such as 3D print zits. With this problem, he’ll still be able to use it, just maybe not as well as you’d like. Having this problem with 3D print zits may be fixed by simply resetting the 3D printer. How does this problem occur anyway? What can be done to fix it? This article gives you the answer.
What Are Zits On 3D Prints?
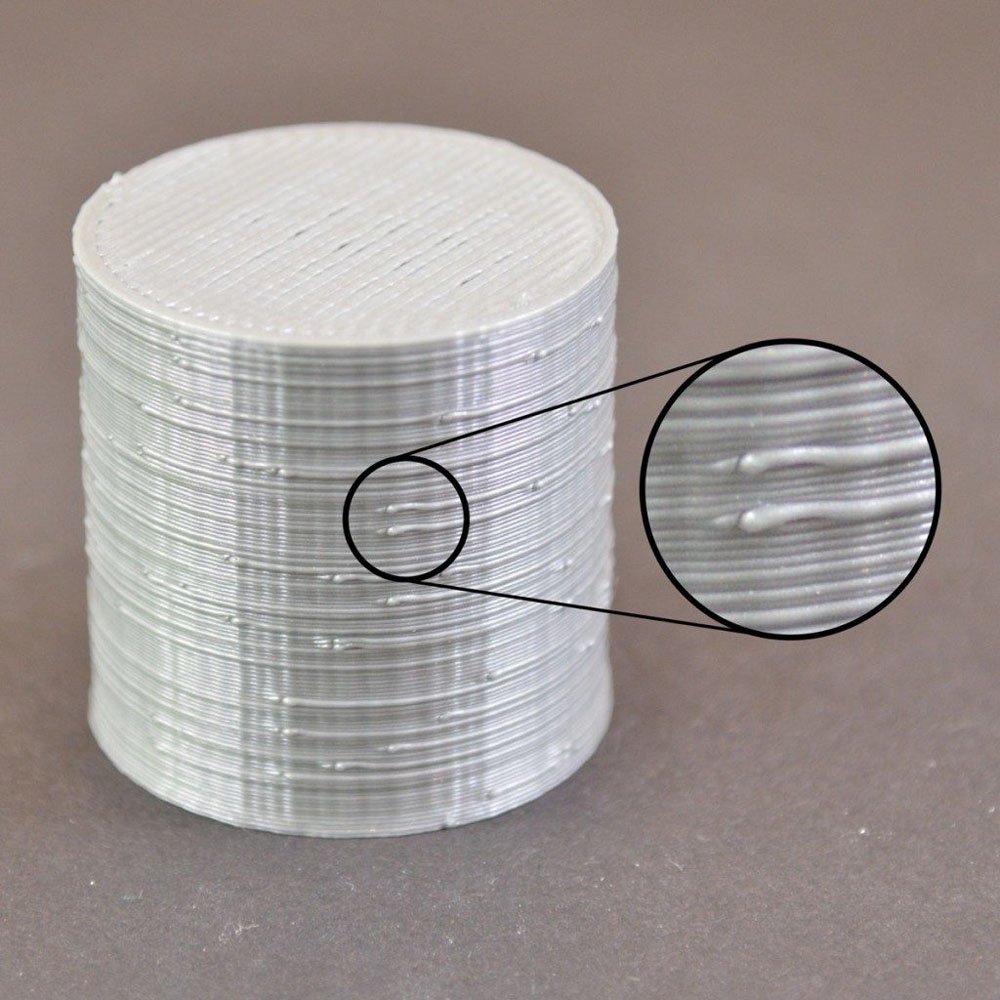
Blobs or zits typically take the form of small bumps on the outer surface of a 3D print. Upon closer inspection, you may notice that a single chunk or zit is exclusive to just a single layer. This should already clue you in the root cause of blobs and zits.
Another feature is that the blobs and zits are distributed almost uniformly across the entire outer surface. It implies that the surface defect is not just a one-off problem. There is likely a systemic problem in your 3D printers or slicer that is causing a reasonably consistent error.
There can be several possible causes for blobs or zits in your 3D print. However, all of them will result in inconsistent extrusion. Regardless, print quality will undoubtedly suffer when 3D printing blobs and zits are left uncontrolled.
Read More:
PLA vs TPU in 3D Printing: What’s the Difference?
3D Printing Elephant Foot: What Causes and How to Fix it?
What Causes Zits On 3D Prints?
Extrusion Inconsistencies
Inconsistency in extrusion can cause the flow of filaments to become unstable, which can lead to uneven layers and surface defects. Reasons for uneven extrusion:
- Clogged Nozzles: Partially clogged nozzles can disrupt the smooth flow of filament.
- Extruder Problems: Worn extruder gears or insufficient tension can cause filament feeding problems.
- Material Quality: Use of old, wet, or poor-quality filament can lead to inconsistent extrusion results.
Temperature Fluctuations
Temperature fluctuations can lead to inconsistent filament melting, which can cause surface defects. Causes of temperature fluctuations:
- Failed Heater or Thermistor: Failed components can cause improper temperature control.
- Inadequate Printer Enclosure: Airflow and ambient temperature variations can affect print results.
Printing Too Fast
Printing too fast can save time, but it can also affect print quality and lead to zits. Reasons for printing too fast:
- Insufficient Cooling: There may not be enough time for proper cooling between layers, resulting in distortion.
- Insufficient Material Flow: At higher speeds, the extruder may not be able to keep up with the required material flow.
Retraction Settings
Incorrect retraction settings can cause spots or zits to appear at the beginning and end of the extrusion. Causes of retraction problems:
- Excessive Retraction: Excessive retraction of the filament can cause a delay in restarting, which can lead to blistering.
- Insufficient Retraction: Insufficient retraction can leave too much filament, which can lead to blistering.
Mechanical Problems
Mechanical problems with the printer can also lead to surface defects. Causes of mechanical problems:
- Loose Belts or Screws: These can cause vibration and inconsistent movement.
- Unstable Print Bed: An uneven or wobbly print bed can lead to poor adhesion of the print layer.
How To Get Rid Of Zits?
Zits on 3D prints can be a major nuisance, but with a few targeted tweaks, you can greatly reduce or eliminate these blemishes. Here are solutions to address the root causes of zits on 3D-printed parts.
Resolve Extrusion Inconsistencies
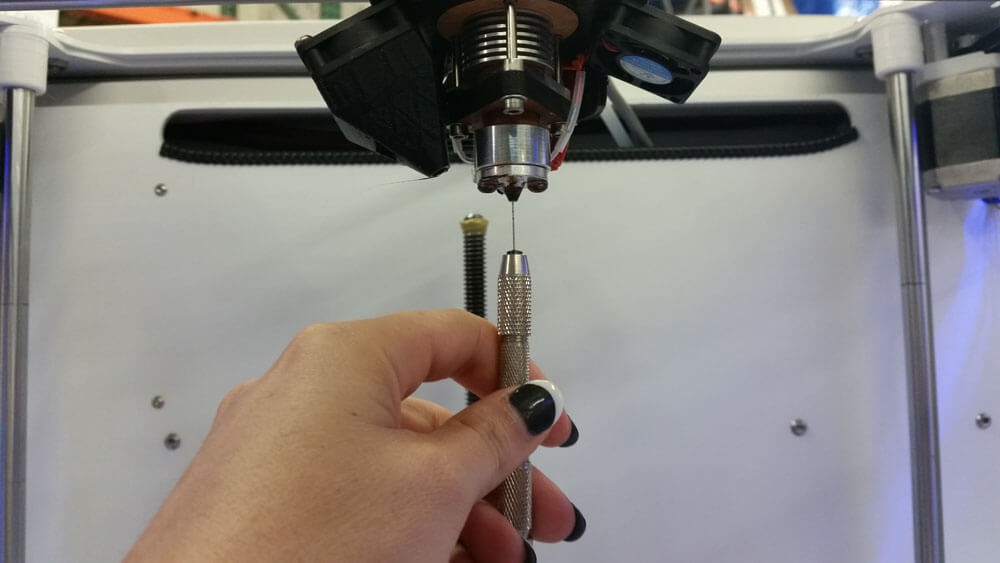
- Clean Nozzles: Use a needle or nozzle cleaning kit to remove clogs, and regular cleaning will ensure smooth filament flow.
- Maintain the Extruder: Check extruder gears for wear, make sure tension is set correctly, and replace worn parts to maintain a consistent filament feed.
- Use High-quality Filament: Select filament with consistent diameter and good material properties, and store filament in a dry environment; use a filament dryer if necessary.
Stabilise Temperature Fluctuations
- Check Heating Elements: Ensure that heaters and thermistors are working properly and replace any defective parts to maintain proper temperature control.
- Use a Printer Enclosure: a printer enclosure reduces the effects of ambient temperature variations and drafts and helps maintain a stable printing environment.
Optimizing Print Speed
- Reduce Print Speed: Reduce the print speed to approximately 40-60 mm/sec in the slicer settings. Slower speeds allow the layer sufficient time to cool and reduce the chance of distortion.
- Ensure Adequate Cooling: Optimise fan settings or add additional cooling fans to improve cooling, which helps the layers to set correctly and reduces surface imperfections.
Fine-Tune Retraction Settings
- Adjust Retraction Distance and speed: Fine-tune the retraction distance in the slicer software to around 5-8 mm and the speed to 25-40 mm/sec, testing different settings to avoid over- or under-retraction.
- Calibrate Retraction Settings: make test prints to calibrate and optimize retraction settings to ensure a smooth extrusion transition.
Troubleshooting Mechanical Problems
- Tighten Belts and Screws: Regularly check and tighten all belts and screws, loose parts can cause vibration and lead to surface defects.
- Level and Stabilize the Print Platform: Make sure the print bed is level and stable before you start printing.
This is the solution to remove 3D printing zits. If you check in these areas when they are not present, you will prevent the problem of zits with 3D printing.
Conclusion
Zits can often be attributed to incorrect 3D printer settings, which can lead to extrusion problems. Fortunately, this also means that you should be able to fix the problem by changing your slicing software settings. Dealing with zits and blemishes is relatively easy after you’ve gained some printing experience.