- Capabilities
-

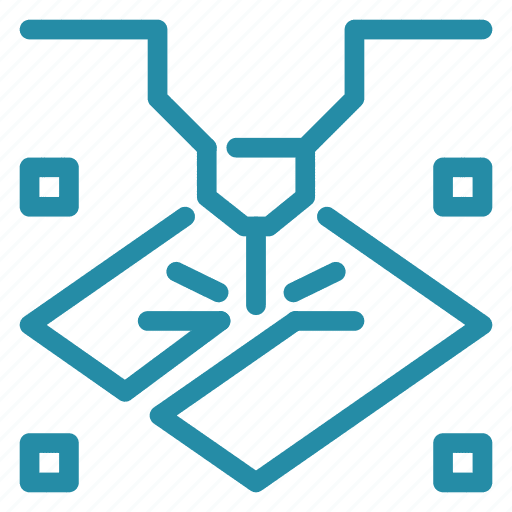
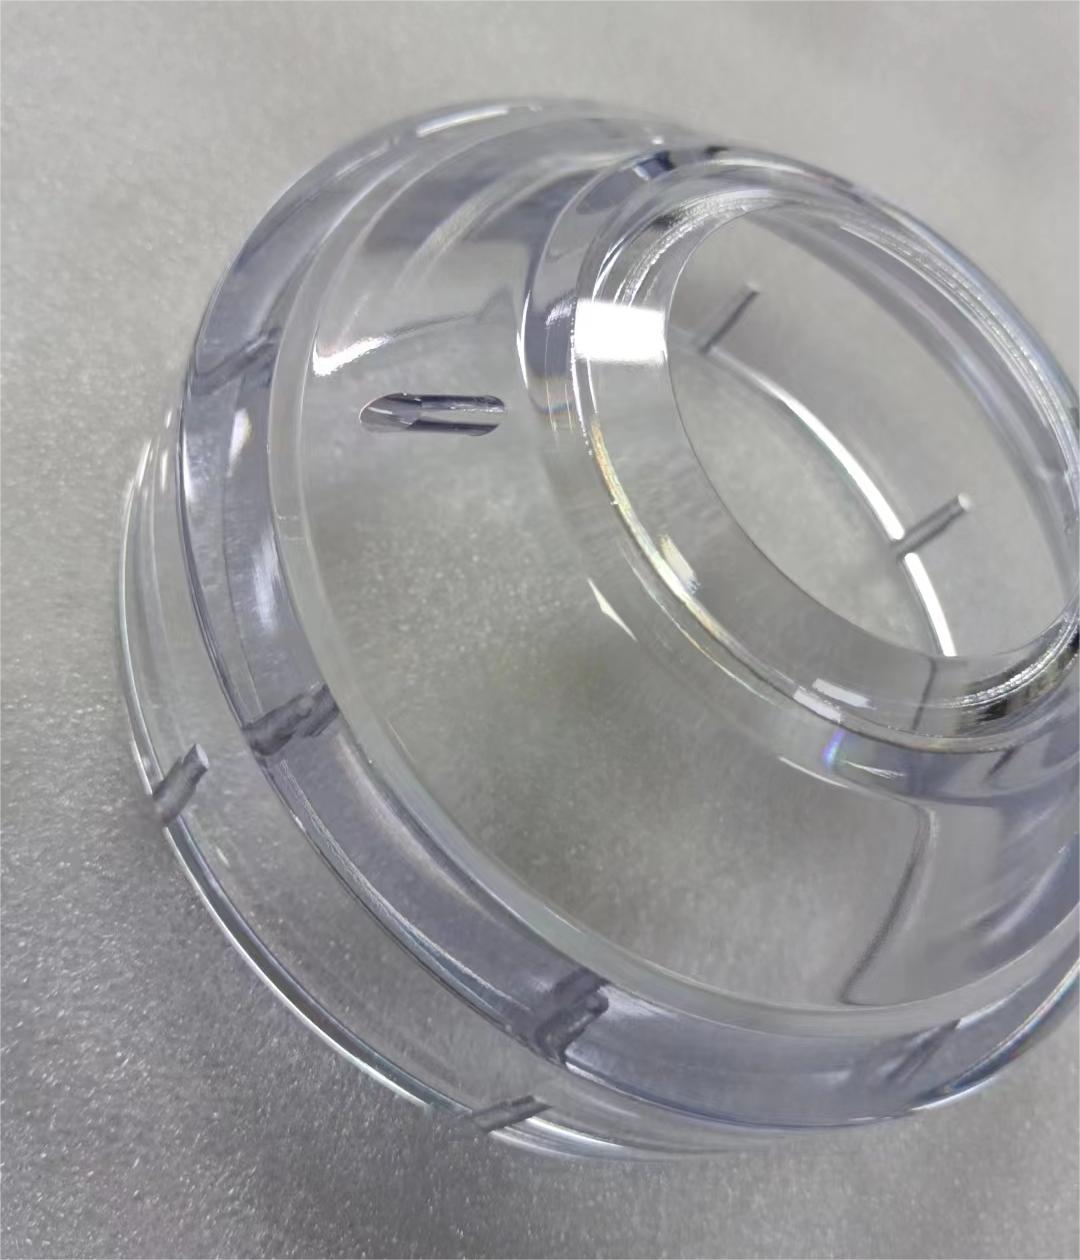
CNC Machining
Tight tolerance and 20+ finishes 3, 4 , 5 axis, as fast as 2 days -
Sheet Metal Fabrication
High-precision, on-demand sheet metal cutting and bending. -
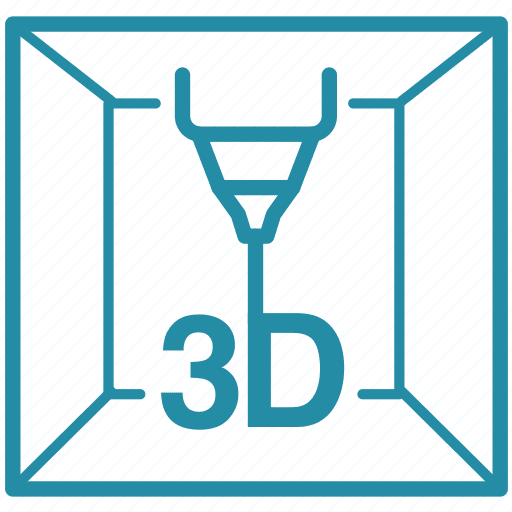
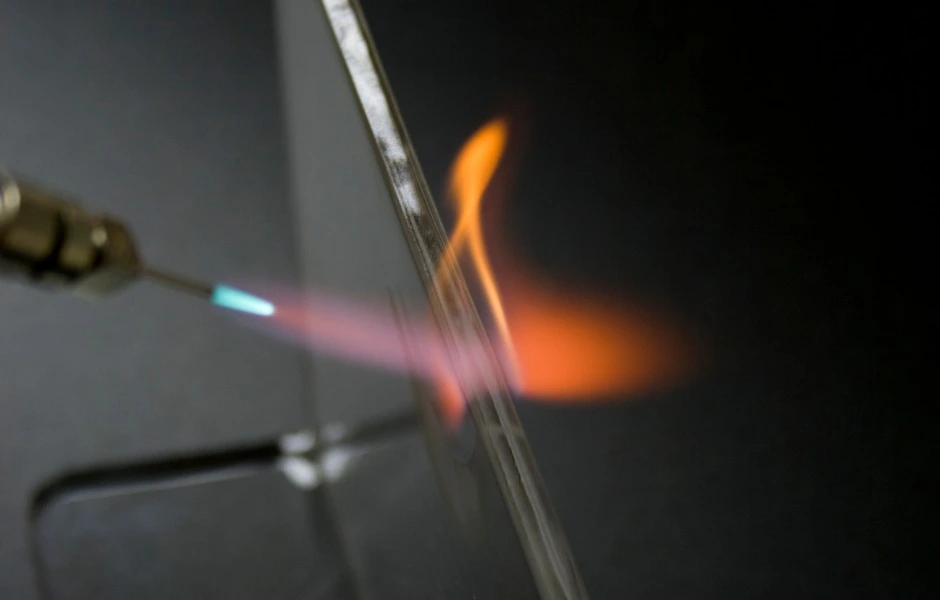
3D Printing
SLA, SLS,MJF,SLM, FDM 3d printing with post treatment. -

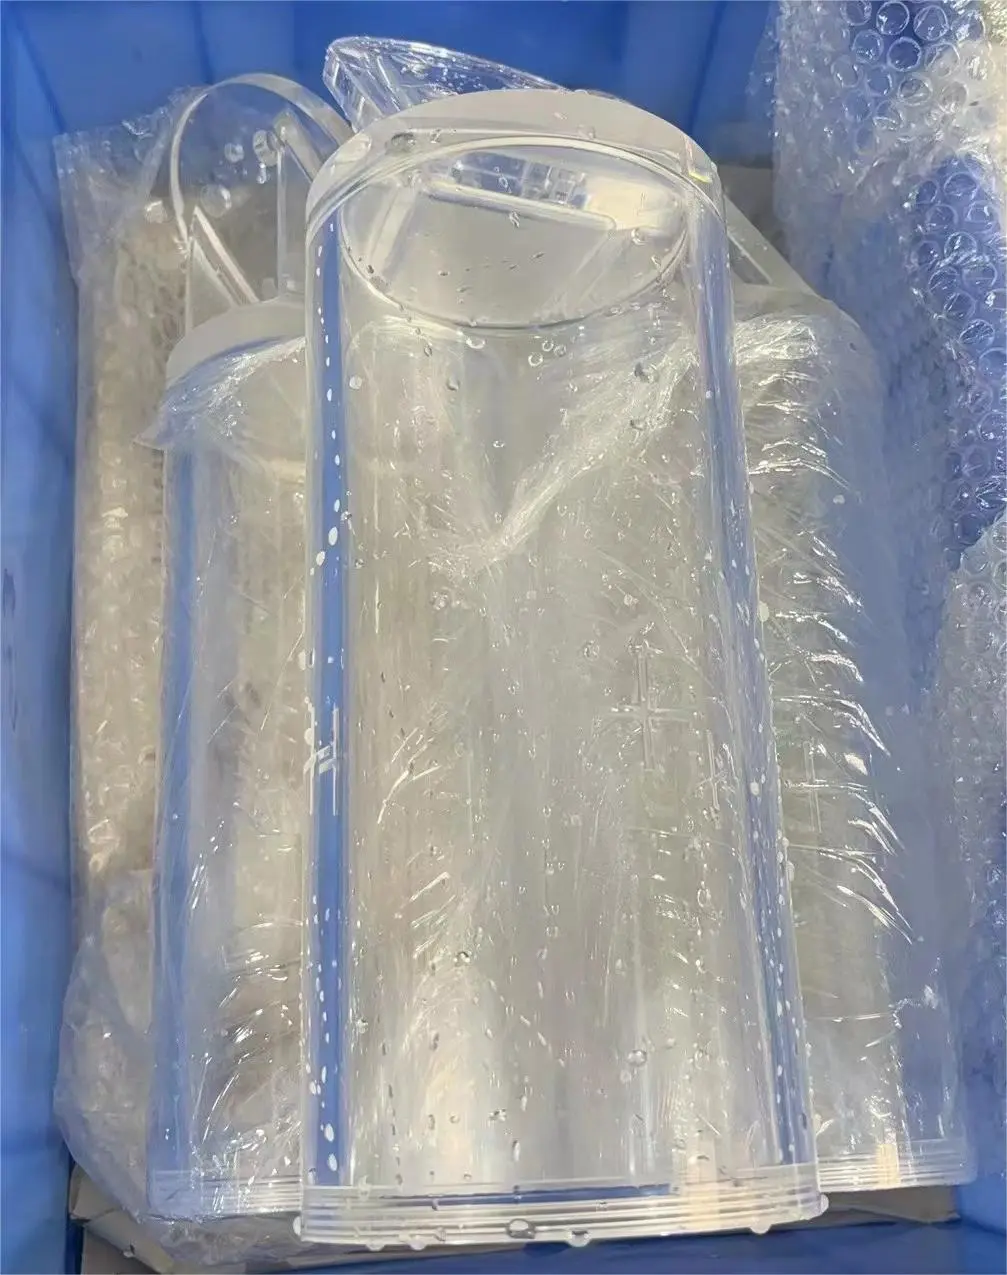
Vacuum Casting
Production quality parts without the tooling investment.
-
- Solutions
Rapid Prototyping
Fastest lead time of high-quality prototypes at minimal cost.
Low Volume Production
From one-off prototyping to low-volume production.

Mechanical Assembly
Custom assembly for project-specific needs.
Custom Package
Ready to help you prompt your brand.
- Sources
Materials
Select from 100 more types of metals and plastics.

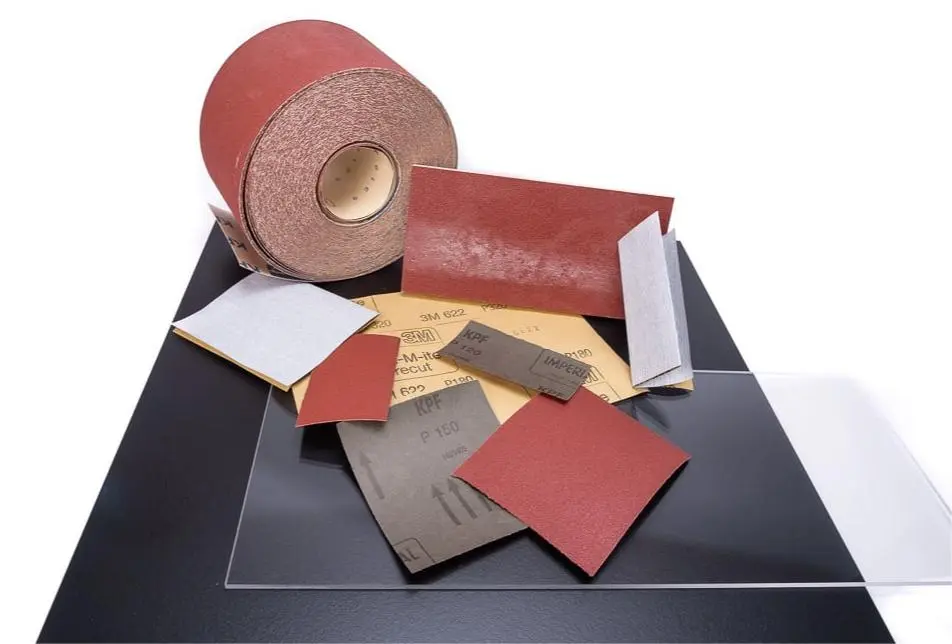
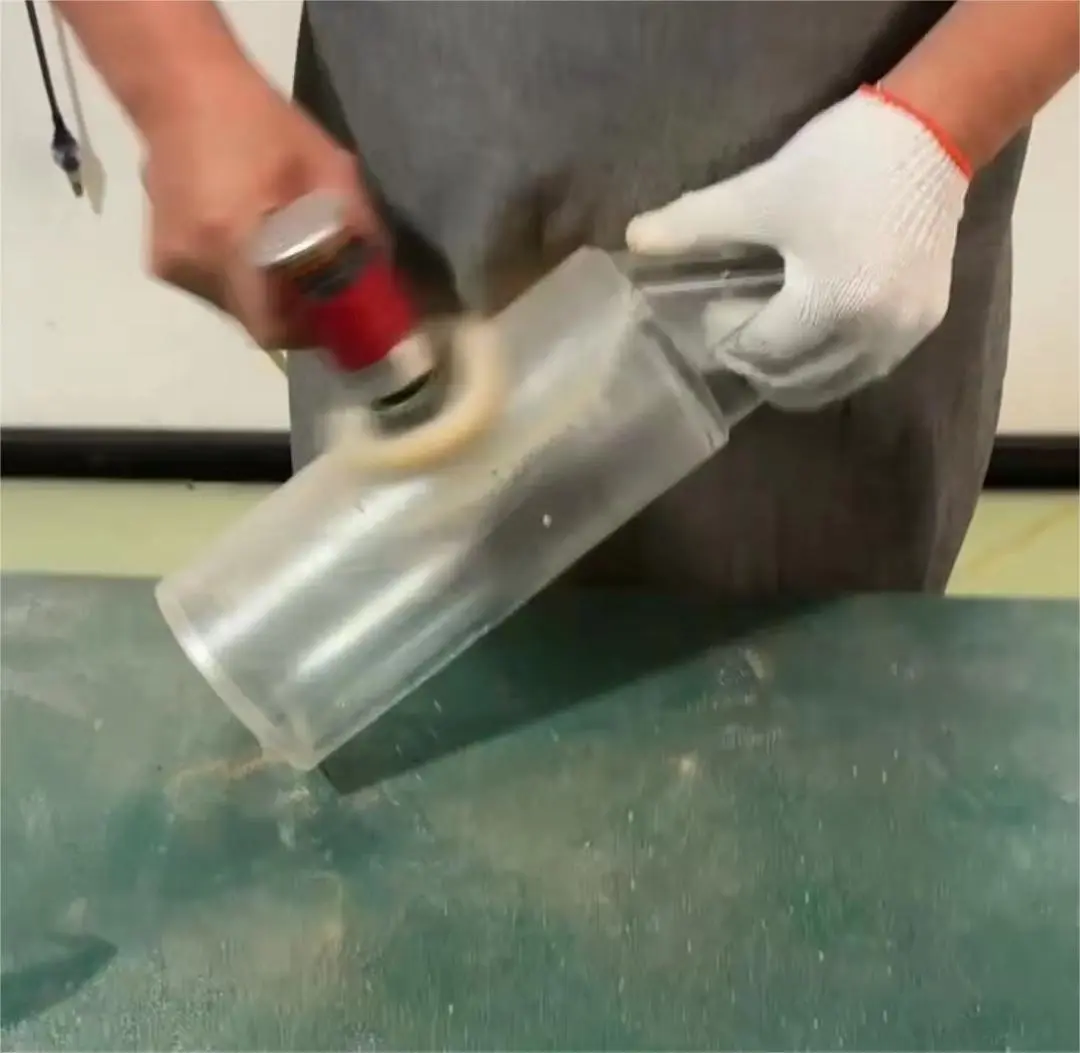
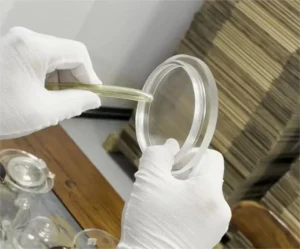
Finishes
Select from 20 more types of surface fishes.
Industries
Providing precision machining and manufacturing solutions.

Cases
How we assist our clients in bringing their projects to fruition.
- Company
Quality Assurance
Consistent quality, every time.
About Us
Your go-to manufacturer for custom parts.

Newsroom
Learn updated news about ECOREPRAP.