Rapid prototyping speeds up the design process, reduces costs, and allows for rapid iteration however, it comes with a high initial cost and material performance limitations.
So how do these pros and cons affect your project? In this article, we’ll delve into the pros and cons of rapid prototyping to provide you with a balanced perspective to help you make a decision.
Key Takeaways:
By turning CAD designs into physical models within hours or days, rapid prototyping enables fast iteration, early testing, and quicker decision-making compared to traditional manufacturing methods.
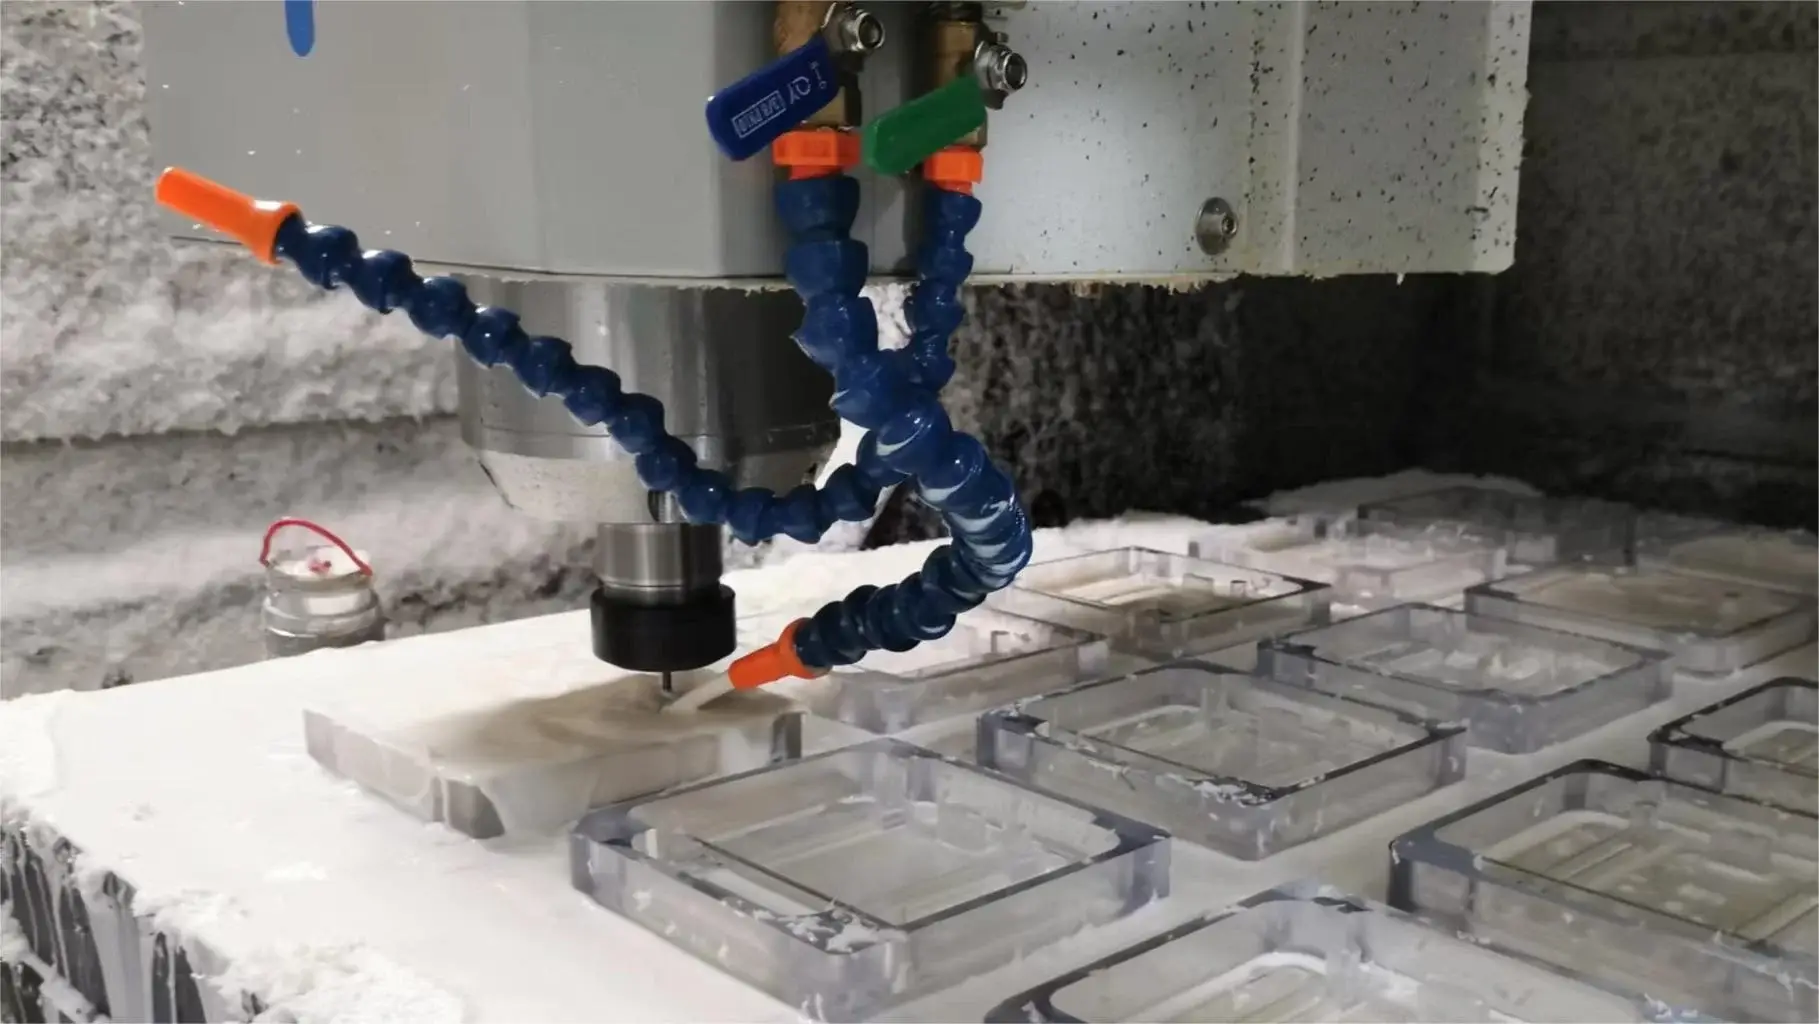
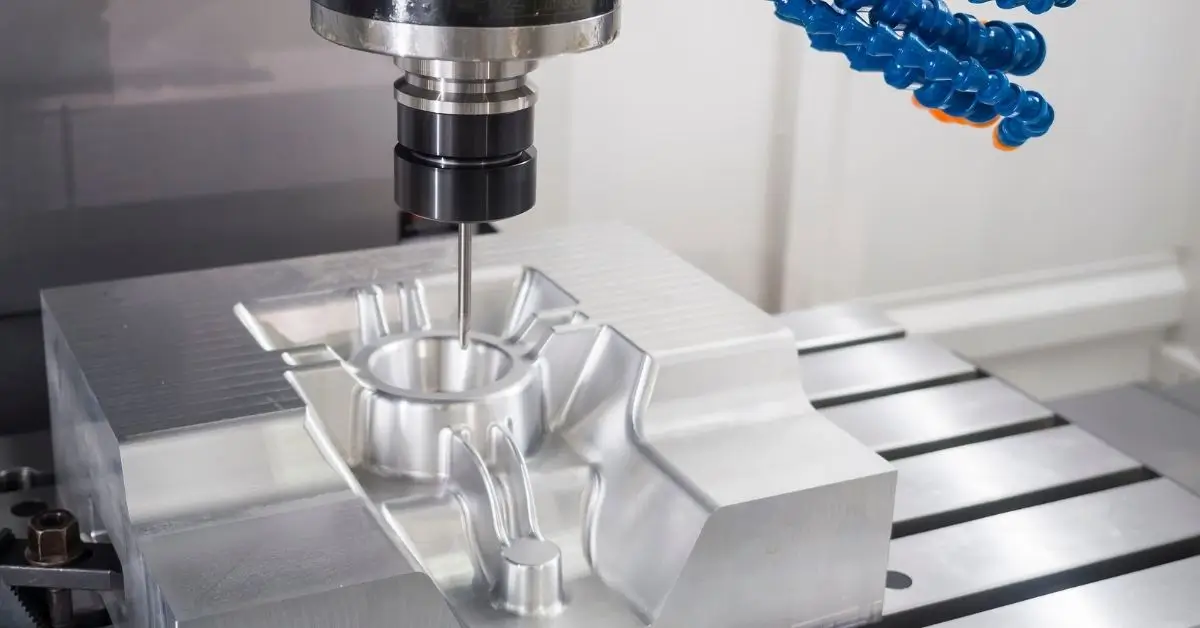
Technologies such as SLA, SLS, FDM, CNC machining, vacuum casting, and low-volume production each offer unique advantages in terms of accuracy, material options, surface finish, and functional testing.
Rapid prototyping helps identify design flaws, usability issues, and performance problems early—preventing costly tooling changes and large-scale production errors later.
While rapid prototyping is excellent for design verification and small batches, limitations in materials, surface finish, and scalability mean it should be complemented by traditional manufacturing for full-scale production.
Rapid prototyping encompasses a variety of techniques that allow designers and engineers to quickly create physical models of their designs. Each method has its own unique advantages and is suitable for different applications. Let’s take a look at the most common rapid prototyping techniques.
Stereolithography (SLA) uses a laser to create three-dimensional objects by curing liquid resin layer by layer into hardened plastic.
The laser traces a pattern on the surface of liquid photopolymer resin. The resin cures where the laser hits it. The build platform is lowered slightly and the process is repeated for the next layer.
Selective Laser Sintering (SLS) uses a laser to melt powdered materials such as nylon into a solid structure. Each layer of powder is sintered or fused to form a 3D object.
A thin layer of powder material is laid down on a build platform. A laser selectively sintered the powder to solidify the desired area. The build platform is lowered and a new layer of powder is applied.
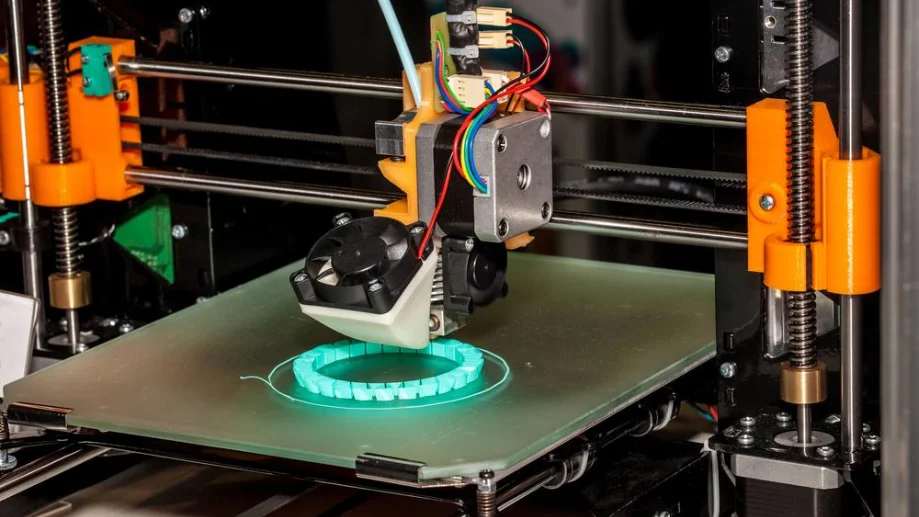
Fused Deposition Modeling (FDM) involves extruding a thermoplastic filament through a heated nozzle and then building the object layer by layer.
A roll of thermoplastic filament enters a heated nozzle. The nozzle moves and deposits the melted material in a precise location. The material hardens immediately and forms layers.
Digital Light Processing (DLP) is similar to SLA but uses a digital projector screen to flash individual images of each layer at once, rather than tracing patterns with a laser.
The projector screen projects an image of the layer onto a resin. The resin hardens where the image is projected. The build platform drops and the process is repeated for the next layer.
Multiple Jet Fusion (MJF) uses fine powder materials, similar to SLS, but uses melting and refining agents to selectively melt and define parts.
A layer of powder is laid down on the build platform. Inkjet nozzles apply the melting and refining agents to the desired areas. Infrared light fuses these areas with the fusing agent.
Laminated Object Manufacturing (LOM) involves layering paper, plastic, or metal laminates coated with an adhesive, then cutting them into shape and gluing them together.
Thin sheets of material are rolled on a build platform. A laser or blade cuts the shape of the layers. The layers are bonded together to form the final part.
Rapid prototyping greatly reduces the time it takes to create a prototype. While traditional methods can take weeks or even months, rapid prototyping produces models in just a few days or hours. This speed allows for faster iterations and shorter product development cycles.
Imagine needing to test a new product feature. With rapid prototyping, you can create a physical model in one day, then test, tweak, and create a new version the next day.
Traditional manufacturing is costly in terms of molds and tooling. Rapid prototyping eliminates these costs, especially in the early stages of product development. This allows multiple design iterations to be tested at no additional cost.
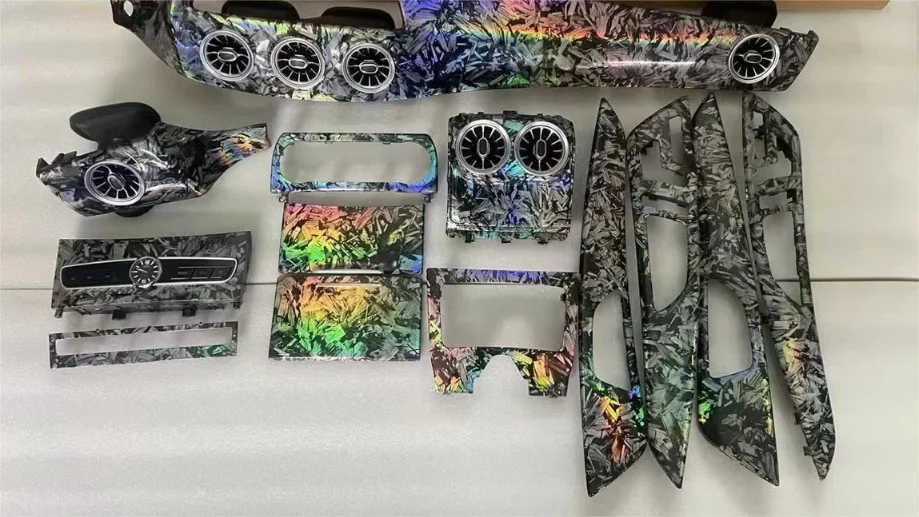
Rapid prototyping supports a wide range of materials and technologies to produce prototypes that closely resemble the final product. This flexibility means you can test different materials and designs.
If you’re developing a new gadget, you can prototype it in different plastics, metals, or composites to see which material performs best.
Showing physical models to stakeholders, customers, and team members improves communication and collaboration. It ensures that everyone has a clear understanding of the product, leading to better feedback and more informed decisions.
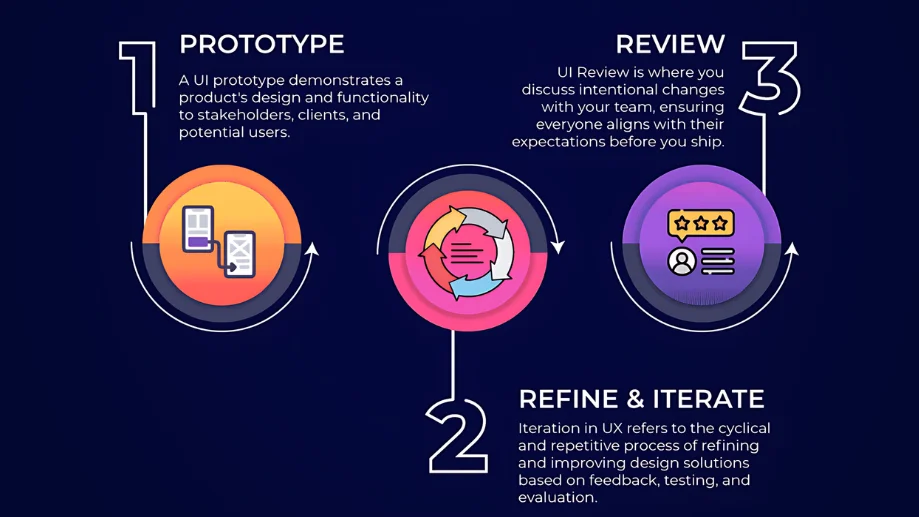
Rapid prototyping allows for extensive testing and iteration, helping to identify potential design flaws early in the development process. This reduces the risk of costly errors and ensures that the final product meets all requirements and standards.
The detection of one design flaw in a prototype can prevent the production of thousands of defective products, thereby avoiding major financial losses.

While rapid prototyping can save money in the long run, the initial investment in 3D printers and other prototyping equipment can be high. For small businesses or startups, this cost can be a barrier.
Investing in a high-quality 3D printer can cost thousands of dollars, which can be a significant expense for small companies.
Not all materials used for rapid prototyping have the same properties as those used in the final product. This sometimes results in prototypes that do not accurately represent the properties of the finished product.
For example, a plastic prototype may not have the same properties as a metal final product, leading to possible differences in test results.
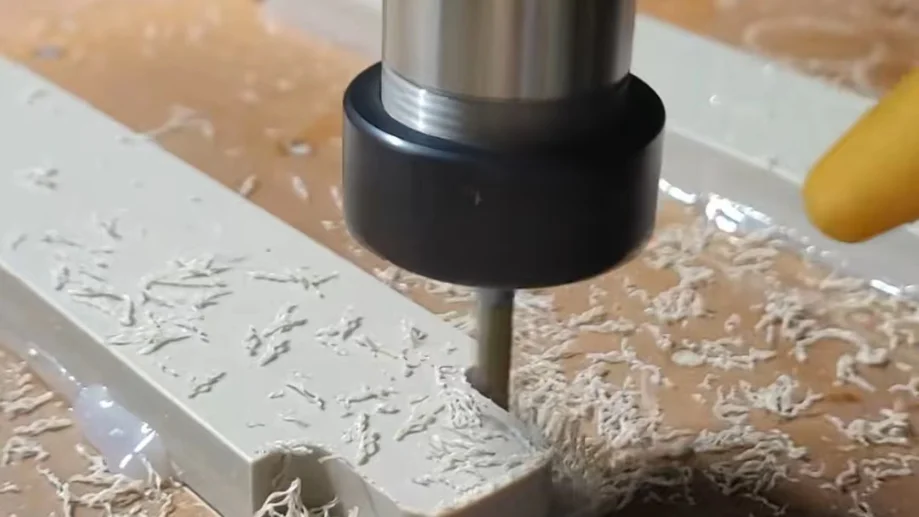
While rapid prototyping techniques continue to improve, some methods still have limitations in terms of accuracy and surface finish.
Prototypes made using Fused Deposition Modeling (FDM) techniques may have visible layer lines and rough surfaces that require additional surface preparation work.
Rapid prototyping is ideal for one-off models or small production runs, but not for mass production. Transitioning from prototyping to mass production requires different processes and tools.
Rapid prototyping technology is changing industries. Let’s walk through a real-world example of how this technology is being used in the real world.
Imagine a tech company is developing a new wearable fitness tracker. The gadget is designed to track health metrics such as heart rate, steps, and sleep patterns.
Step 1: Conceptualization and Design
Designers and engineers use CAD software to create detailed sketches and 3D models.
Step 2: Creating the First Prototype
Once the CAD models are ready, the team creates the first prototype using stereolithography (SLA). This method uses a laser to cure liquid resin into solid plastic layer by layer.
The SLA machine reads the CAD file and then begins to trace the design layer by layer. The resin hardens where the laser hits it, forming the shape of the tracker. After a few hours, the prototype is complete and ready for inspection.
Step 3: Test and Iterate
The initial prototypes are subjected to rigorous testing. For example, the team evaluates its ergonomics, design aesthetics, and functional aspects such as button placement and screen visibility. Problems found:
Step 4: Improvements
Based on the feedback, the design team made the necessary adjustments to the CAD model. They enlarged the buttons, chose a screen with higher contrast, and selected a softer, more flexible strap material.
Step 5: Create a Second Prototype
The updated design is sent to a Multi Jet Fusion (MJF) printer. A fine layer of nylon powder is sprinkled on the build platform.
Inkjet nozzles deposit fusing and refining agents. Infrared light fuses these areas with the adhesive to form a solid layer.
Step 6: Further Testing and Refinement
The second prototype underwent another round of testing. This time, the team found that the buttons were more responsive, the screen was clearly readable outdoors, and the strap was comfortable.
Step 7: Final Tweaks and Production
Once satisfied with the prototype, the team makes final adjustments and prepares it for mass production. They create a detailed production schedule and ensure that all components meet quality standards.
If you lack the resources or expertise to handle rapid prototyping in-house, consider using a rapid prototyping service. These services can help you create high-quality prototypes without investing in expensive equipment.

Lucas is a technical writer at ECOREPRAP. He has eight years of CNC programming and operating experience, including five-axis programming. He also spent three years in CNC engineering, quoting, design, and project management. Lucas holds an associate degree in mold design and has self-taught knowledge in materials science. He’s a lifelong learner who loves sharing his expertise.