Table of Contents
If you’ve dabbled in product development, you’ve probably heard “CNC” and “rapid prototyping” tossed around.
But if you’re new, you might wonder: Why pair these two? Can’t I just 3D print or hand-carve a prototype?
Skipping CNC for precision-focused prototyping is like cutting a cake with a butter knife—messy, imprecise, and nothing like your vision.
Rapid prototyping’s goal is to turn designs into testable samples fast; CNC is the “secret weapon” that makes this process not just quick, but reliable, accurate, and scalable.
This guide breaks down why prototyping matters, the difference between low/high-fidelity prototypes, and the core benefits of CNC for rapid prototyping.
By the end, you’ll know exactly when to use CNC—and how it saves you time, money, and headaches.
1. Purpose of Prototyping: Why It’s Non-Negotiable
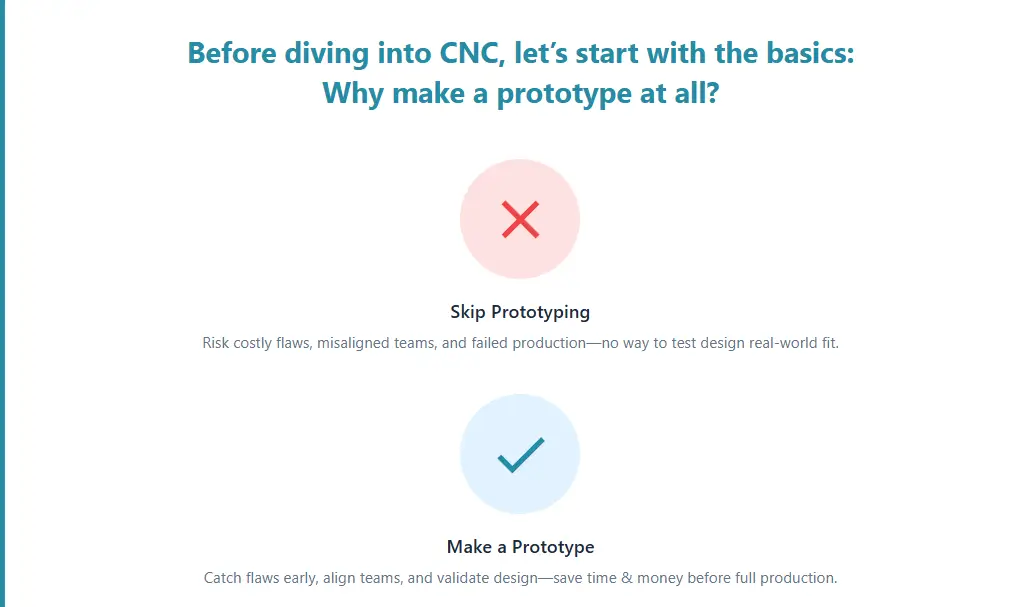
Before diving into CNC, let’s start with the basics: Why make a prototype at all?
Jumping straight to production is a recipe for wasted cash—prototyping fixes that by doing three critical jobs:
1.1 Validation: Ensure Your Design Actually Works
Validation is testing before investing.
It checks if your design meets user needs and business goals. For example:
- You design a plastic drone bracket that looks like it holds a camera on paper. But a prototype reveals it bends under weight. Skip prototyping, and you’ll order 1,000 faulty brackets—wasting money and delaying launch.
In short: Prototypes turn “this should work” into “this does work.”
1.2 Communication: Stop Talking Past Each Other
Explaining a 3D design with words is like describing a sunset to someone who’s never seen color—frustrating.
A prototype acts as a universal translator:
- A designer can show a hand-drawn app prototype to a developer: This button leads to checkout.
- A client can hold a toy prototype and say: The handle’s too small for kids.
Prototypes let designers, developers, and clients see/touch the same vision—no misinterpretation.
1.3 Risk Mitigation: Catch Flaws Early (When They’re Cheap to Fix)
The later you find a flaw, the costlier it is to fix.
Think of product development like building a house: Fixing an uneven foundation before walls go up is easy; fixing it after the roof is on costs 10x more.
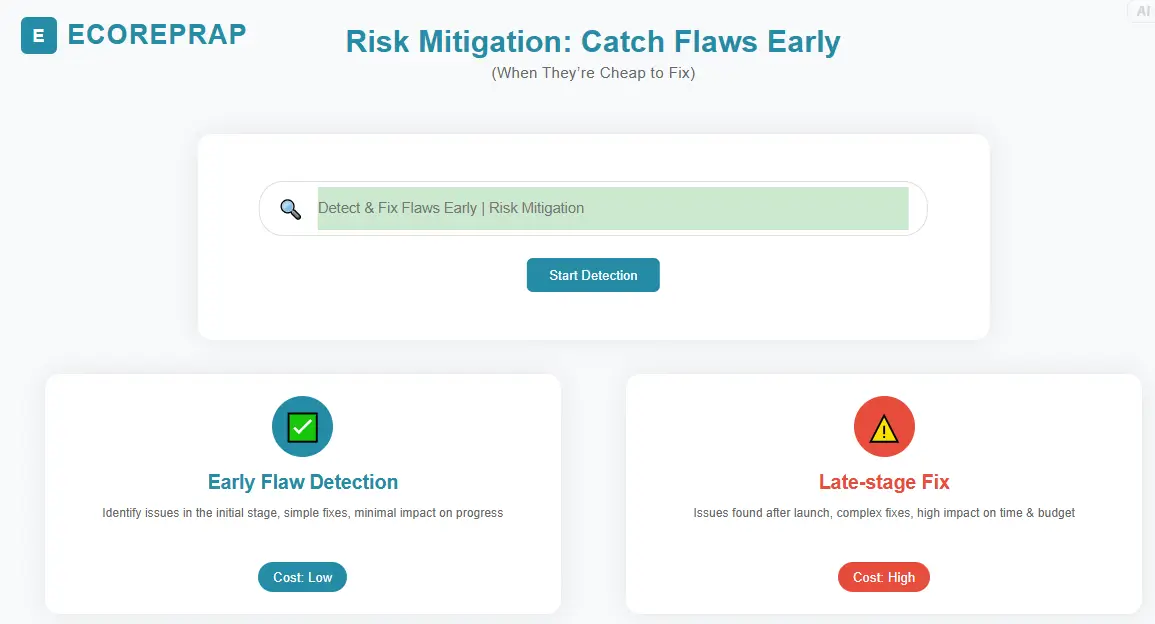
Prototypes spot issues early:
- Design flaws: A chair that tips when sat on.
- Usability issues: A gadget with hard-to-press buttons.
- Technical challenges: An electronic component that doesn’t fit the case.
Catching these early avoids factory retooling, product recalls, or lost customers.
2. Low-Fidelity vs. High-Fidelity Prototypes
Not all prototypes are the same—you wouldn’t use a sledgehammer to hang a picture.

Prototypes split into two categories, each for specific stages:
2.1 Low-Fidelity Prototypes: “Quick and Dirty” for Early Ideas
Low-fidelity (lo-fi) prototypes are rough sketches of your idea—built to test concepts, not details.
Key Features
They look nothing like the final product. Think hand-drawn app screens (boxes for buttons, stick figures for icons) or cardboard lamp bases.
No real functionality.
Clicking a “Buy Now” button might just mean flipping to another sketch;
a door handle prototype might be a 3D-printed block with a stick glued on.
Done in hours with paper, pens, or free tools like Canva—no expensive gear needed.
When to Use Them?
Brainstorming a water bottle?
Sketch 5 lo-fi versions (tall/short, straw/flip-top) in an hour to test which idea sticks.
Show a paper backpack prototype to hikers: “Where would you put your water bottle?”
Their answers shape the layout—no need for a real backpack yet.
A startup might use a lo-fi fitness tracker prototype (paper screen with “steps” written on it) to see if gym-goers care about the idea.
A designer shows a paper website prototype to a developer: “We need a search bar here”—no colors or fonts required, just layout clarity.
2.2 High-Fidelity Prototypes: Almost the Real Thing for Late Stages
High-fidelity (hi-fi) prototypes look, feel, and work like the final product—built to test details, not just ideas.
Key Features
Matches the final product’s look down to fonts, colors, and materials. A website prototype uses the exact imagery; a watch prototype uses the same metal/plastic as the final version.
Functional like the real thing. A “Sign Up” button lets you type an email and get a confirmation; a coffee maker prototype lets you pour fake coffee.
Takes days/weeks with specialized tools (like CNC) or teams—no paper shortcuts here.
When to Use Them?
You know your laptop stand idea works—now use a hi-fi prototype to test: “Is it tall enough? Does it wobble when typing?”
Investors fund a speaker faster if they can hold a hi-fi prototype, turn it on, and hear sound—instead of looking at a sketch.
Core Uses
Give a hi-fi remote control to TV viewers—do they struggle to find “Volume”? Fix small issues now, not after production.
Bring hi-fi toy prototypes to a kids’ expo—let kids play, and parents see quality.
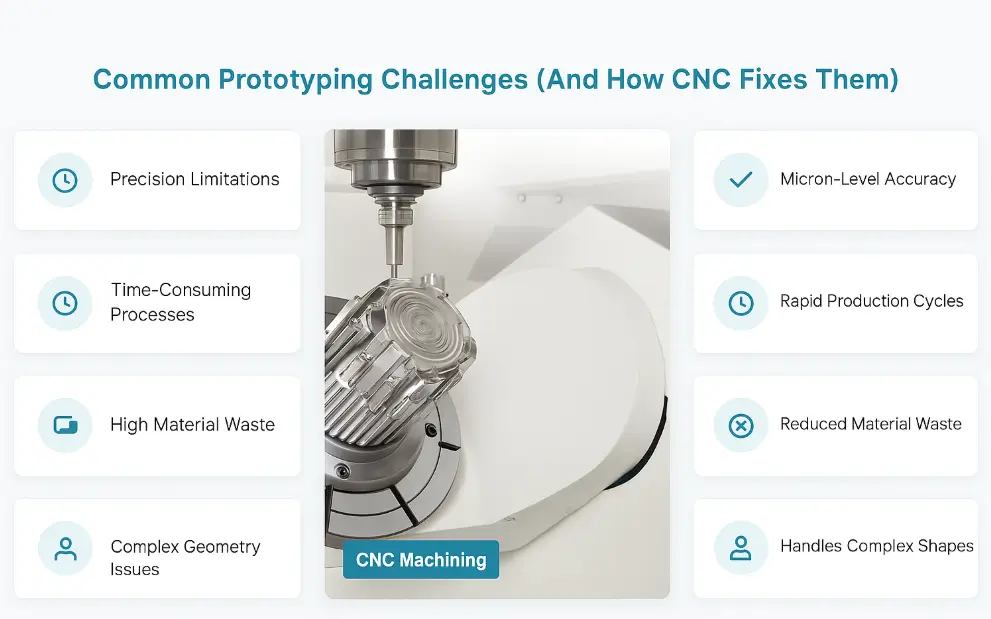
3. Common Prototyping Challenges (And How CNC Fixes Them)
Teams often hit roadblocks with prototyping—CNC solves these pain points:
Choosing fidelity
Teams waste time on hi-fi prototypes for bad ideas (e.g., 2 weeks on an app’s colors, only to find users hate the concept) or skip hi-fi entirely (launching a leaky cup because the lo-fi sketch looked good).
CNC makes hi-fi prototypes fast, so you don’t waste time.
Resource allocation
Teams overspend on early hi-fi prototypes ($10k for a design they scrap) or underinvest (cardboard prototypes for metal tools, missing flaws).
CNC scales—make cheap small-batches for testing, no overspending.
Incorporating feedback
Conflicting feedback (“Button too small!” / “Button too big!”) leaves teams stuck.
CNC re-machines parts quickly—test a bigger button one day, smaller the next.
CNC re-machines parts quickly—test a bigger button one day, smaller the next.
If you don’t have in-house CNC equipment, trusted Rapid Prototyping Services can handle iterative machining for you, cutting down on setup time and resource waste.
4. What Is CNC? (Simple Explanation)
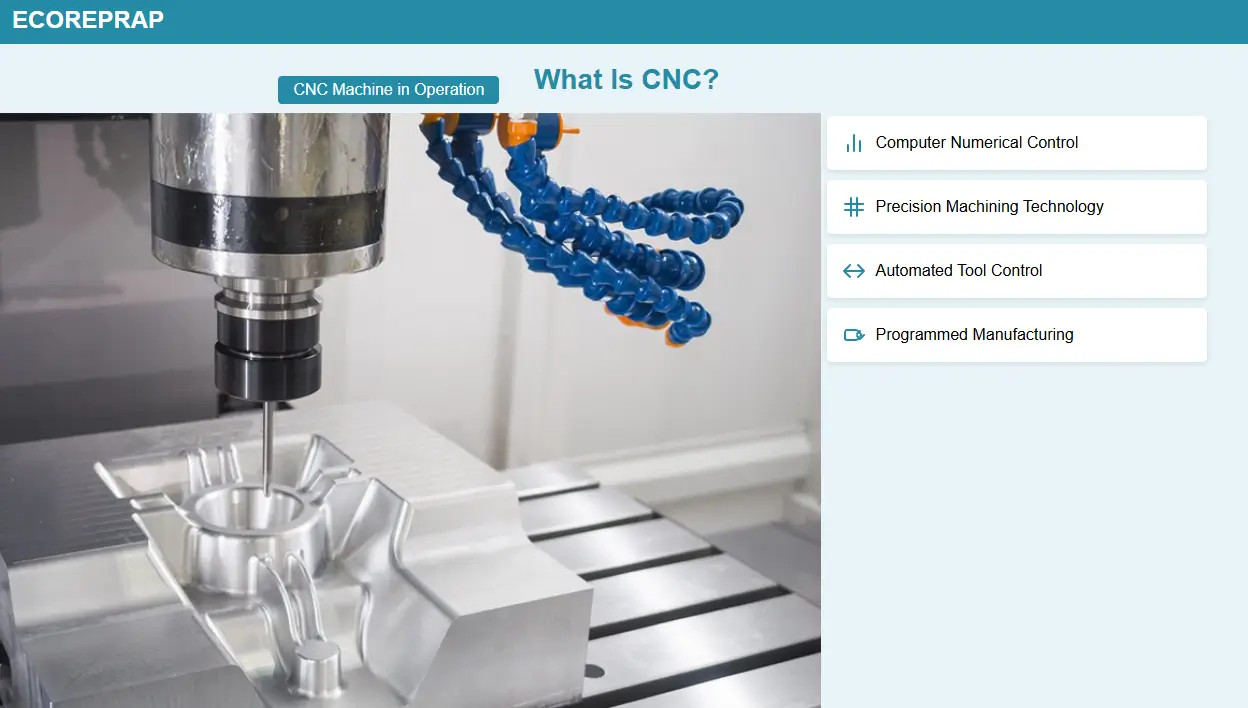
CNC stands for “Computer Numerical Control”—let’s break it down:
- Computer: You start with a 3D CAD design (made in tools like Tinkercad or Fusion 360).
- Numerical Control: The computer turns your design into coordinates a machine understands.
- Machine: A CNC mill/lathe/router uses those coordinates to cut/shapes materials (metal, plastic, wood) with extreme precision—like a robot artist following your blueprint.
For rapid prototyping, CNC shines because it makes complex, high-quality parts fast—faster than 3D printing (slow for large parts) and more precise than hand-carving.
5. Top Benefits of CNC for Rapid Prototyping
CNC’s advantages make it a game-changer for prototyping. Here are the 7 biggest benefits:
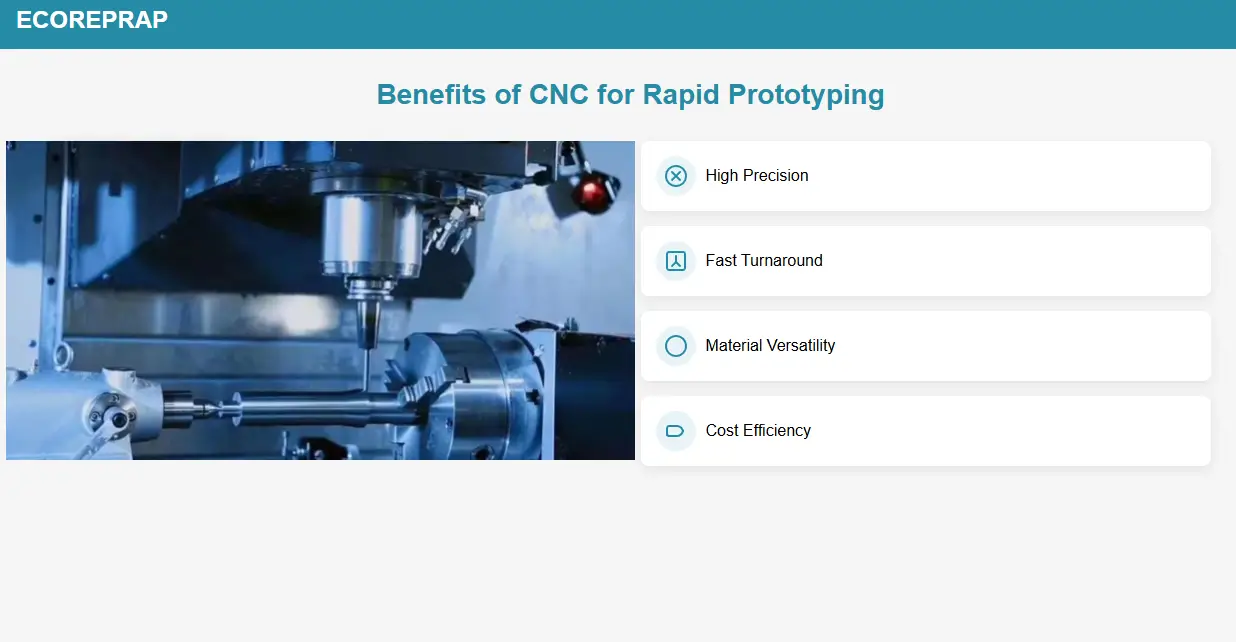
5.1 Unbeatable Precision: Exact Matches to Your Design
CNC machines cut to tolerances of 0.001 inches (thinner than a human hair). For prototyping, this is make-or-break—tiny errors ruin products:
- A 0.1-inch error in a watch gear makes it too big to fit.
- A 0.05-inch error in a phone case makes it too tight (breaks the phone) or too loose (no protection).
CNC ensures your prototype matches your CAD design exactly. Critical for hi-fi prototypes, where details determine usability.
Example: A medical team designing an insulin pen needs a prototype that fits a tiny needle. CNC machines the pen body to exact dimensions—so the needle fits perfectly.
5.2 Fast Turnaround: Prototypes in Days, Not Weeks
Rapid prototyping is about speed—and CNC delivers.
Unlike injection molding (which needs weeks for molds), CNC starts machining as soon as you upload your CAD file:
- Simple parts (plastic brackets): Done in hours.
- Complex parts (metal camera housings): Ready in 1–3 days.
This lets you iterate fast: Test a prototype Monday, fix the design Tuesday, re-machine Wednesday, test Thursday.
No waiting weeks to fix flaws.
5.3 Material Versatility: Test with Final Production Materials
CNC works with almost any material—unlike 3D printing (limited to plastics/resins). You can prototype with the same material as your final product:
- Aluminum for laptop frames (test weight/strength).
- Wood for furniture handles (check texture/finish).
- Heat-resistant metal for coffee machine parts (test durability).
Material matters—plastic prototypes can’t show if a heat-resistant part works, but CNC-machined metal prototypes can.
5.4 Cost-Effective for Small Batches
Myth: CNC is too expensive for prototyping. Truth: It’s cheaper than methods like injection molding for small batches (1–10 prototypes):
- No mold costs: Injection molding needs $1k–$10k molds—wasted for 5 prototypes. CNC uses no molds.
- Minimal waste: CNC cuts only what it needs—no hand-carving scrap.
- Low setup time: Setting up CNC takes hours (not days), so making 3 versions of a button is cheap.
Comparison: 5 injection-molded prototypes cost ~$5k; 5 CNC prototypes cost ~$350.
5.5 Consistency: Every Prototype Is Identical
Testing needs consistency—if 5 prototypes are different, you can’t tell if flaws are from the design or the prototype.
CNC eliminates human error: Every prototype is identical. If all 5 bottle caps leak, you know the design is flawed; if none leak, you know it works.
Critical for:
- Usability testing: No confusing feedback from inconsistent prototypes.
- Stakeholder trust: Clients won’t question quality if all prototypes look the same.
5.6 Easy Iteration: Fix Flaws in Hours
Iteration is prototyping’s heart—and CNC makes it fast:
- Test a CNC prototype, find a flaw (e.g., too-small handle).
- Adjust your CAD design (10 minutes).
- Re-machine the prototype (a few hours).
Compare to 3D printing (12+ hours to reprint) or injection molding (rework molds for days).
CNC lets you go from “flaw found” to “new prototype tested” in a day.
5.7 Ready for Mass Production
CNC bridges prototyping and manufacturing—unlike 3D printing (different process for production).
The CAD design for your CNC prototype is the same one you’ll use for mass production:
- No rework: No redesigning to fit a new machine.
- Predictable scaling: If the prototype works, 1,000 identical parts will too.
- Faster time to market: Approve the prototype, then ramp up CNC production immediately.
6. How to Use CNC for Rapid Prototyping (Step-by-Step)
Even if you’re new, using CNC is straightforward:
Step 1: Finalize Your CAD Design
Make a 3D design (blueprint) with free tools like Tinkercad (beginners) or Fusion 360 (hobbyists).
Save as a STEP/IGES file (universal for CNC shops).
Tips: Avoid thin walls (<0.04 inches) or sharp internal corners—hard for CNC to cut.
Step 2: Choose the Right Material
Pick the same material as your final product (e.g., aluminum for lightweight parts, heat-resistant plastic for kitchen gear).
Use CNC shops’ material guides to compare cost/strength.
Step 3: Find a CNC Shop (Or Desktop Machine)
Hire a shop: Use Xometry/Protolabs—upload your CAD file, get a quote in minutes. Look for “rapid prototyping” shops (fast, affordable for small batches).
Desktop machine: If you prototype often, buy a Shapeoko 4 ($1k–$3k)—easy to set up at home.
Step 4: Review the Quote/Design
Shops send a quote and design review.
Fix issues they spot (e.g., “This wall is too thin”)—this saves time/money.
Step 5: Test the Prototype
When you get the prototype, check:
- Fit: Does it match other parts (e.g., phone case fits a phone)
- Function: Does it work (e.g., handle turns smoothly)?
- Usability: Is it easy to use (e.g., buttons press easily)?
If flawed, adjust the CAD design and re-machine—CNC makes this fast.
7. CNC vs. Other Prototyping Methods
Which method is best? Compare CNC to 3D printing and hand-carving:
| Method | Precision | Speed (1 Prototype) | Material Versatility | Cost (5 Prototypes) | Best For |
|---|---|---|---|---|---|
| CNC Machining | Very High (0.001in) | 1–3 Days | Wide (metal/plastic/wood) | $350–$1k | Hi-fi, functional, or metal parts |
| 3D Printing | Medium (0.005in) | 12–24 Hours | Limited (plastic/resin) | $100–$300 | Lo-fi/medium parts, complex shapes (gears) |
| Hand-Carving | Low (0.02in) | 1–2 Days | Limited (wood/soft plastic) | $50–$200 | Early lo-fi, artistic parts |
Choose CNC if: You need hi-fi, functional, or metal prototypes—or plan to mass-produce with CNC.
8. Final Tips for CNC Prototyping
- Start lo-fi first: Test your idea with paper/3D printing—use CNC for hi-fi only when the concept works.
- Keep designs simple: Skip intricate details early—simpler = faster/cheaper machining.
- Use rapid prototyping shops: They understand fast turnaround and small batches better than general CNC shops.
- Order extras: Get 2–3 prototypes—test one, show one to stakeholders, keep one as backup.
- Learn basic CAD: Free Tinkercad tutorials (30 mins) let you adjust designs fast.
Conclusion
CNC turns rapid prototyping from a guessing game into a reliable process.
Its precision, speed, and versatility let you test ideas fast, fix flaws cheaply, and scale to production seamlessly.
Whether you’re a startup, engineer, or hobbyist, CNC helps you build better products—faster.
Your next step? Pick one part of your design, make a simple CAD file, and get a CNC quote. You’ll be surprised how quick and affordable it is!
Rapid Prototyping Knowledge Hub
1.Understanding CNC Rapid Prototyping
- What is CNC Rapid Prototyping? Complete Guide for 2025
- What are the Benefits of CNC for Rapid Prototyping?
- CNC Machining for Rapid Prototyping: How to Choose the Right Solution
- 3 Types of Prototyping Services for Fast and Cost-Effective Prototypes
2.CNC vs Other Prototyping Methods
- CNC Rapid Prototyping vs 3D Printing: Which to Choose in 2025?
- 3D Printing vs CNC Machining: Which Is Right for You?
- CNC Milling vs CNC Turning: Which Is Better for Prototyping?
3.Engineering & DFM Considerations
- CNC Prototype Tolerances Explained
- How to Optimize CAD Files for CNC Prototyping
- How Material Selection Affects CNC Prototype Performance
- ABS vs Aluminum: Which is Better for CNC Prototypes?
- Why Production Time Matters in Prototype CNC Parts Manufacturing?
4.From Prototype to Production
- CNC Machining for Small Batch Prototyping
- From Prototype to Production: How CNC Companies Support Scalability
5.CNC Prototyping Services in China
- CNC Prototyping Services China (Complete Buying Guide)
- Key Factors to Consider When Sourcing CNC Prototypes from China
- Top 5 Prototype Manufacturers in China
- 5 Key Benefits of Using Chinese Prototyping Services
Get Rapid Prototyping Services

Lucas is a technical writer at ECOREPRAP. He has eight years of CNC programming and operating experience, including five-axis programming. He also spent three years in CNC engineering, quoting, design, and project management. Lucas holds an associate degree in mold design and has self-taught knowledge in materials science. He’s a lifelong learner who loves sharing his expertise.
