Table of Contents
The precision required for CNC prototype tolerances depends on the part’s end – use.
For consumer goods, where appearance and basic functionality matter, tolerances around ±0.1 – 0.5mm might be sufficient.
However, in industries like aerospace or medical, parts need to fit precisely and function flawlessly.
Here, tolerances can be as tight as ±0.01mm or less. Consider the interactions between parts; if they’re complex, higher precision is crucial.
Also, cost plays a role – tighter tolerances generally increase production expenses.
Instead of focusing only on what CNC machines can achieve, we focus on what your prototype actually needs,how tolerances impact cost and lead time, and how tolerance requirements evolve from prototype to production.
What Are CNC Prototype Tolerances?
CNC prototype tolerances refer to the allowable deviation in dimensions of a part produced by Computer Numerical Control (CNC) machining.
These tolerances are crucial as they determine how closely the final prototype will match the intended design.
Tolerances can vary depending on factors like the CNC machine’s precision, the material being machined, and the complexity of the part.
For example, in high – precision industries such as aerospace, tolerances can be extremely tight, often in the range of ±0.01 mm or even less.
In more general applications, tolerances might be in the range of ±0.1 – 0.5 mm.
Tighter tolerances require more advanced machining techniques and higher – quality equipment, which can increase production costs.

CNC Machining Tolerances Explained (Plain Language)
CNC machining tolerances define the acceptable dimensional deviation from a nominal design dimension specified in a CAD model or technical drawing.
For example, if a hole is designed as 10.00 mm, a tolerance of ±0.10 mm allows a finished size between 9.90 mm and 10.10 mm,
while a tolerance of ±0.01 mm restricts it to 9.99 mm–10.01 mm.
When people search for “CNC machining tolerances explained,” they are often surprised to learn that tighter tolerances are not automatically better,
especially during the prototyping phase. In CNC prototyping, tolerances are a design decision, not just a manufacturing capability.
Typical CNC Prototype Tolerance Ranges (Industry Data)
Based on common CNC shop practices and published guidelines from Protolabs and Xometry (2023–2024):
- Default CNC prototype tolerance: ±0.1 mm (±0.004”)
- Medium precision prototype tolerance: ±0.05 mm
- Tight tolerance CNC machining: ±0.01 mm or tighter (applied selectively)
Industry data shows that over 70% of CNC prototype parts can function correctly with tolerances of ±0.05 mm or looser,
depending on the application.
Why Tolerances Matter More Than Many Teams Expect
Tolerances directly influence part fit, assembly, motion testing, sealing performance, machining time,inspection effort, and scrap risk.
From real CNC prototype projects, one pattern appears repeatedly:
over-specifying tolerances is one of the fastest ways to increase prototype cost without improving learning value.
Why Tolerances Matter More Than Many Teams Expect?
- CNC Prototype Tolerance Basics: Why Tighter Is Not Always Better
- Tolerance Design from a Functional Fit Perspective: Where Assemblies Often Fail
More Case Studies and Methods
Application Examples
- Case Study: How Tolerance Stack-Up Causes CNC Prototype Assembly Issues
- Case Study: How Over-Specifying Tolerances Drives Up Prototype Costs
Technical Methods
- DFM Tolerance Guidelines: Balancing Functionality and Manufacturability
- How Fixturing and Alignment Directly Impact CNC Tolerance Accuracy
Service Approach and Risk Control
How Precise Does a CNC Prototype Really Need to Be?
The required precision of a CNC prototype depends on its intended use. For consumer products, a relatively moderate precision might suffice, with tolerances around ±0.1 – 0.5mm.
This is because the end – user typically doesn’t notice small dimensional variations. However, in industries like medical, where components need to fit precisely for proper functionality and patient safety, or in aerospace, where parts must withstand extreme conditions, much higher precision is essential.
In these cases, tolerances can be as tight as ±0.01mm or even less.
The more critical the application and the more complex the interactions between parts, the higher the precision a CNC prototype needs to be.
Function Comes Before Precision
A common mistake is treating all prototypes as if they were production parts.
In reality, how precise a CNC prototype needs to be depends entirely on what the prototype is meant to prove.
Visual models, assembly checks, and functional testing all justify different tolerance strategies.
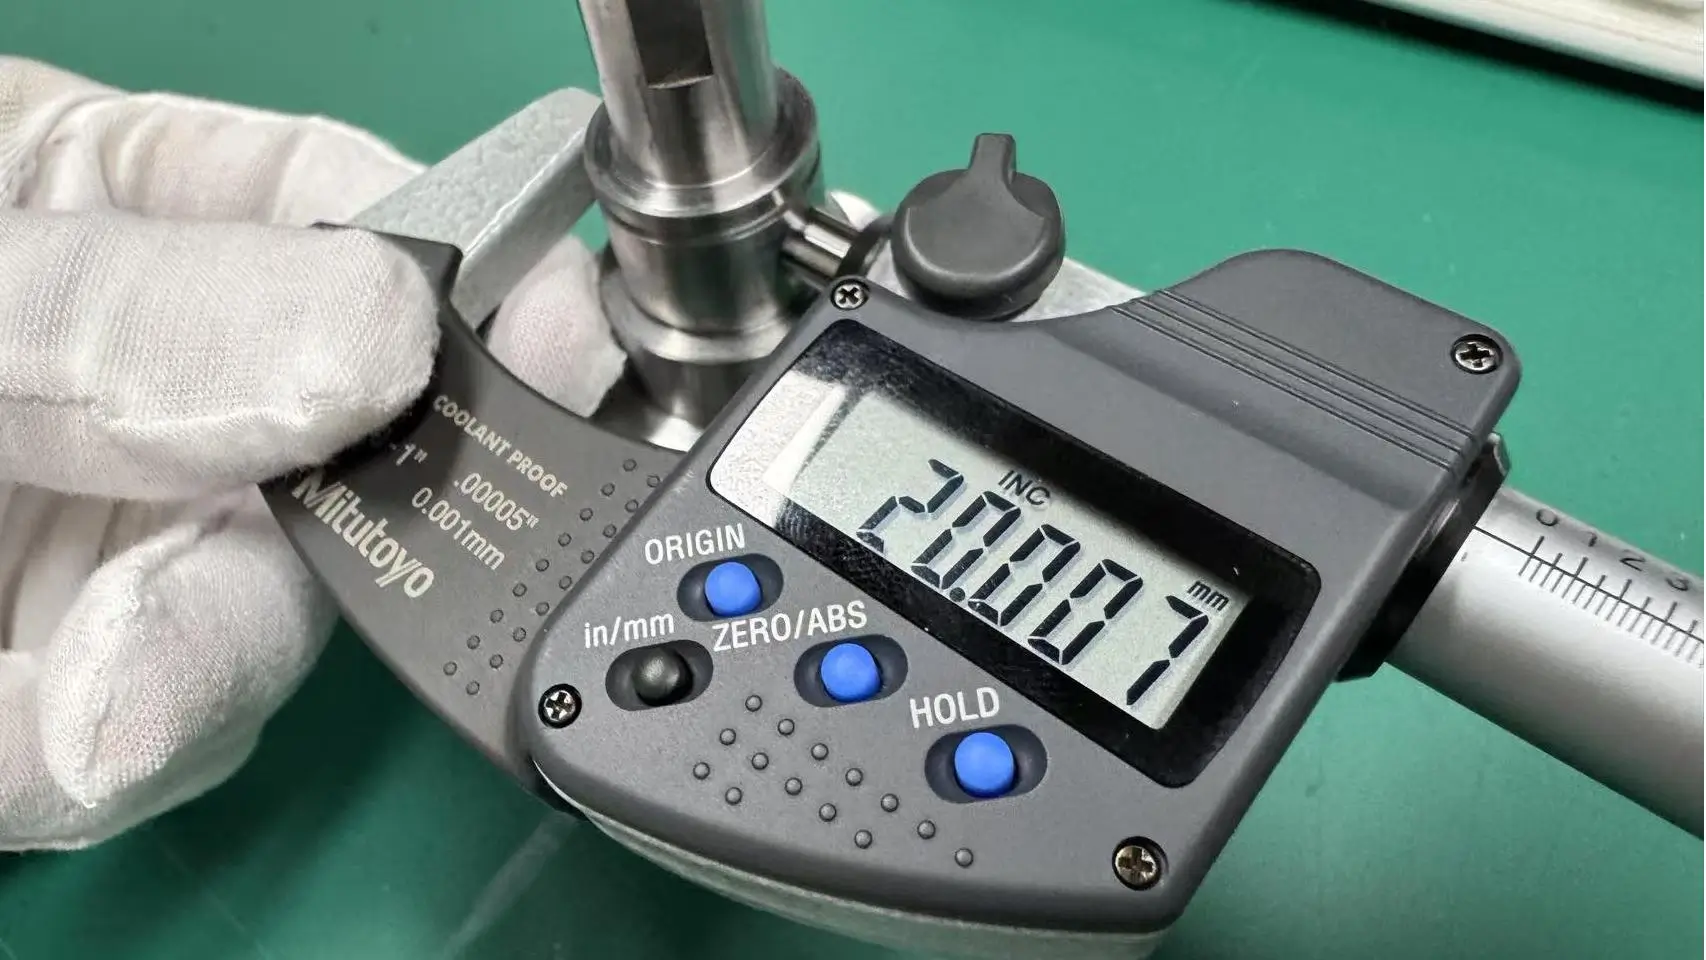
What Tolerance Do I Need for a CNC Prototype? (Rule of Thumb)
- Concept or visual prototype: ±0.1 mm
- Assembly and fit-check prototype: ±0.05 mm
- Critical functional surfaces only: ±0.01 mm (localized)
The key insight is simple: you do not need tight tolerances everywhere—only where function demands it.
When Higher Precision Adds No Engineering Value
Many first-time hardware teams assume tighter tolerances equal higher quality.
In practice, this often leads to longer lead times, higher machining costs, and slower iteration,
with no improvement in test outcomes. Precision should be treated as a tool, not a goal.
Common CNC Tolerance Standards Used in Prototyping
In prototyping, common CNC tolerance standards include ISO 2768. It offers general tolerances for linear and angular dimensions, like ±0.2mm for linear dimensions up to 100mm in the medium – precision class.
ASME Y14.5 focuses on geometric dimensioning and tolerancing, clarifying shape, orientation, and location feature specifications.
Additionally, the automotive industry often has its own in – house standards tailored to component requirements for optimal performance.
General CNC Tolerance Standards
When no specific tolerances are stated, most CNC shops apply general tolerances such as ±0.1 mm for dimensions under 100 mm.
These defaults are usually sufficient for early-stage CNC prototypes.
ISO 2768 and CNC Prototype Machining
ISO 2768 is one of the most widely used international standards for general tolerances.
ISO 2768-m (medium) is commonly applied in CNC prototyping because it simplifies drawings
and reduces unnecessary tolerance callouts.
Shop Capability vs. Drawing Requirements
Most professional CNC shops can achieve ±0.01 mm features, but that does not mean every prototype should demand it.
A good CNC partner will challenge unnecessary tight tolerances instead of blindly accepting them.
Tight Tolerance CNC Cost: What Engineers Often Underestimate
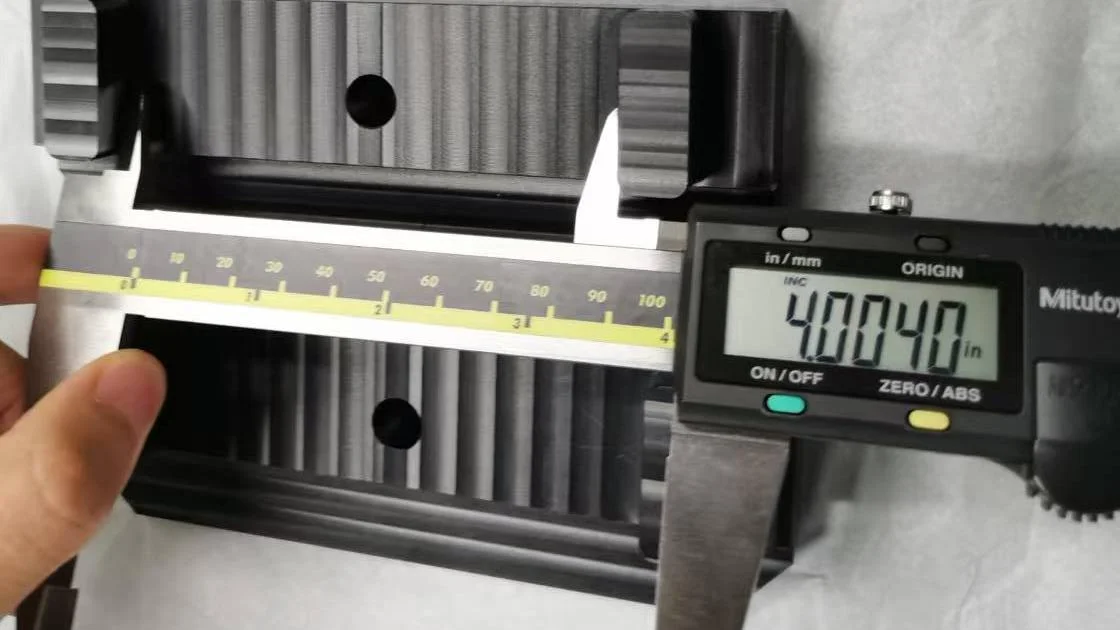
Engineers often underestimate the cost implications of tight tolerance CNC work. Tight tolerances demand more precise equipment, highly skilled operators, and longer machining times.
This boosts equipment maintenance, operator training, and production time costs. Also, there’s a higher scrap rate as even minor errors can render parts unusable.
For example, in aerospace, tight tolerances of ±0.01mm can significantly inflate costs compared to more lenient tolerances used in consumer product prototyping.
Why Tight Tolerances Increase CNC Machining Cost
Tight tolerance CNC machining requires slower cutting speeds, additional finishing passes,
extra inspection, and stable thermal conditions.
Reducing tolerance from ±0.05 mm to ±0.01 mm can increase part cost by 20–50%, depending on geometry and material.
Lead Time Impact of Tight Tolerances
Standard prototype tolerances typically require 3–5 working days,
while tight tolerance prototypes often increase lead time by 30–70%.
For fast iteration cycles, this delay can be more critical than cost.
Smart Cost-Control Strategy Used by Experienced Engineers
Experienced engineers apply tight tolerances only to critical interfaces,
use general tolerances elsewhere, and clearly mark non-critical cosmetic surfaces.
This approach balances precision, speed, and budget.
Prototype vs Production CNC Tolerance: Key Differences
During prototyping, tolerances are often looser.
This allows for quick iteration and testing. It gives room to assess the basic functionality and design concept.
For example, in a product design prototype, a tolerance of ±0.5mm might be acceptable.
In production, tolerances are much tighter. Consistency across all parts is crucial.
Tight tolerances ensure proper fit and function in the final product. In automotive production, tolerances could be as tight as ±0.05mm to guarantee seamless assembly.
Why Prototype Tolerances Are Usually Looser
Prototypes are built to validate geometry, identify interference, and enable fast learning.
Production parts focus on repeatability, long-term reliability, and statistical process control.
How Tolerances Tighten During Product Development
A typical evolution is ±0.1 mm for early prototypes,
selective ±0.02–0.05 mm during validation,
and fully defined GD&T tolerances for mass production.
Why This Difference Matters to Buyers
Understanding the difference between prototype and production tolerances helps buyers avoid overpaying for prototypes
and evaluate CNC suppliers more effectively.
How to Specify CNC Prototype Tolerances Correctly?
To correctly specify CNC prototype tolerances, first, understand the part’s function. If it’s for a high – precision mechanism, like in medical devices, tight tolerances are a must.
Research industry standards relevant to your product; for example, aerospace parts follow specific ISO or ASME standards.
Consider the capabilities of your CNC machine and the machining process. Discuss with your machining provider about achievable tolerances.
Use clear and precise dimensioning on your design drawings, indicating both nominal values and allowable deviations, like ±0.1mm.
Use Function-Driven Tolerance Callouts
Each tolerance should answer one question: what happens if this feature is slightly off?
If the answer is “nothing important,” the tolerance is probably too tight.
Communicate Intent, Not Just Numbers
Simple notes such as “for fit test only” or “non-critical cosmetic surface”
help CNC machinists optimize machining strategy and reduce unnecessary cost.
Why This Improves Both SEO and Conversion
Clear tolerance logic demonstrates engineering experience and cost awareness,
which matters more for B2B conversion than aggressive sales language.
Certifications, Quality Systems, and Tolerances
Certifications and quality systems play a vital role in CNC prototype tolerances.
ISO 9001 – certified manufacturers adhere to strict quality management processes, which can ensure consistent tolerance control.
For CNC machining, this might mean regular equipment calibration and operator training.
These quality systems set benchmarks for how tight and consistent tolerances should be.
They also help build trust with customers, as they indicate a commitment to producing parts that meet exacting dimensional requirements.
Do Certifications Guarantee Tight Tolerances?
Certifications such as ISO 9001 ensure process consistency, not automatic precision.
Tight tolerance capability depends on machine rigidity, tooling, inspection systems, and operator experience.
What Experienced Buyers Actually Look For
Experienced buyers value proactive DFM feedback, honest tolerance recommendations,
and early cost-risk identification more than advertised tolerance limits.
Key Takeaways: CNC Prototype Tolerance Decision Checklist
- Most CNC prototypes do not require ultra-tight tolerances
- Precision should follow function, not assumption
- Tight tolerance CNC machining significantly increases cost and lead time
- Prototype and production tolerances serve different purposes
- The best CNC suppliers help reduce unnecessary precision
FAQ: CNC Prototype Tolerances – Additional Questions Engineers Ask
What is the default tolerance if I don’t specify CNC prototype tolerances?
Most CNC shops apply a default tolerance of ±0.1 mm for prototype parts when no tolerance is specified.
This default follows common industry practice and ISO-based general tolerance rules.
Is ±0.01 mm considered a tight tolerance for CNC prototyping?
Yes, ±0.01 mm is considered a tight tolerance in CNC prototyping and should only be used on function-critical features.
From real CNC machining experience, tolerances at ±0.01 mm typically require slower cutting speeds,additional finishing passes, and CMM inspection, increasing machining cost by 20–50% compared to ±0.05 mm.
Does tighter CNC tolerance always mean better part quality?
No—tighter tolerance does not automatically mean better quality, especially for CNC prototypes.
In prototyping, quality is defined by how well the part validates fit, function, or design intent.
Experienced engineers often loosen non-critical tolerances to reduce cost and accelerate iteration without affecting test results.
What CNC tolerances are typically acceptable for assembly-fit prototypes?
For most assembly-fit CNC prototypes, ±0.05 mm is generally sufficient.
This tolerance level allows reliable fit checks while avoiding the cost and lead-time penalties associated with tight tolerance CNC machining.
It is commonly used for enclosures, brackets, and mating components.
How much does tight tolerance CNC machining increase lead time?
Tight tolerance CNC prototypes typically increase lead time by 30–70%.
Additional machining passes, thermal control, and inspection steps all contribute to longer lead times.
For rapid prototyping projects, this delay often has more impact than the added cost itself.
Can I mix different tolerances on the same CNC prototype part?
Yes—mixing different tolerances on the same part is considered best practice in CNC prototyping.
Experienced engineers apply tight tolerances only to critical features such as bearing seats or sealing surfaces,while using general tolerances elsewhere to control CNC machining cost.
Are CNC prototype tolerances different from production tolerances?
Yes—prototype tolerances are usually looser than production tolerances by design.
Prototype tolerances prioritize learning and validation, while production tolerances focus on repeatability and long-term stability.
This distinction is central to understanding prototype vs production CNC tolerance planning.
Does ISO 9001 certification guarantee tight CNC tolerances?
No—ISO 9001 ensures process consistency, not automatic tight tolerance capability.
Actual tight tolerance performance depends on machine rigidity, tooling strategy, inspection equipment,
and operator experience rather than certification alone.
How do CNC shops measure tight tolerance prototype parts?
Tight tolerance CNC prototype parts are typically measured using CMMs (Coordinate Measuring Machines).
CMM inspection adds both time and cost, which is one of the main reasons tight tolerance CNC machining significantly increases overall project cost.
What tolerance mistakes do first-time hardware teams make most often?
The most common mistake is over-specifying tight tolerances across the entire part.
In real CNC prototype projects, many dimensions have little or no impact on function.
Applying production-level tolerances too early often slows iteration and increases cost without improving decision quality.
Should cosmetic surfaces have the same tolerance as functional features?
No—cosmetic surfaces rarely require tight tolerances in CNC prototypes.
Experienced engineers clearly mark non-critical cosmetic areas to allow looser tolerances,enabling faster machining and lower cost while maintaining precision where it actually matters.
Reference Sources
ISO General Tolerances Overview:https://www.iso.org/standard/13715.html
Final Thought
The goal of CNC prototyping is learning—not perfection.Tolerances should accelerate learning, not slow it down.Making informed tolerance decisions is one of the most effective ways to reduce prototype cost, shorten development cycles, and reach production faster.
Reference Sources
ISO General Tolerances Overview:https://www.iso.org/standard/13715.html
Rapid Prototyping Knowledge Hub
Understanding CNC Rapid Prototyping
- What is CNC Rapid Prototyping? Complete Guide for 2025
- What are the Benefits of CNC for Rapid Prototyping?
- CNC Machining for Rapid Prototyping: How to Choose the Right Solution
- 3 Types of Prototyping Services for Fast and Cost-Effective Prototypes
CNC vs Other Prototyping Methods
- CNC Rapid Prototyping vs 3D Printing: Which to Choose in 2025?
- 3D Printing vs CNC Machining: Which Is Right for You?
- CNC Milling vs CNC Turning: Which Is Better for Prototyping?
Engineering & DFM Considerations
- CNC Prototype Tolerances Explained
- How to Optimize CAD Files for CNC Prototyping
- How Material Selection Affects CNC Prototype Performance
- ABS vs Aluminum: Which is Better for CNC Prototypes?
- Why Production Time Matters in Prototype CNC Parts Manufacturing?
From Prototype to Production
- CNC Machining for Small Batch Prototyping
- From Prototype to Production: How CNC Companies Support Scalability
CNC Prototyping Services in China
- CNC Prototyping Services China (Complete Buying Guide)
- Key Factors to Consider When Sourcing CNC Prototypes from China
- Top 5 Prototype Manufacturers in China
- 5 Key Benefits of Using Chinese Prototyping Services
- CNC Prototype Tolerances Explained: How Precise Do You Really Need to Be?
- How Fixturing and Alignment Affect Accuracy in CNC Prototype Machining?
- Surface Finish in CNC Prototyping: Cost vs Performance Trade-Offs
Get Rapid Prototyping Services

Lucas is a technical writer at ECOREPRAP. He has eight years of CNC programming and operating experience, including five-axis programming. He’s a lifelong learner who loves sharing his expertise.
Other Articles You Might Enjoy

What is 5-axis Machining? A Complete Guide.
5-Axis CNC machining is a manufacturing process that uses computer numerical control systems to operate 5-axis CNC machines capable of moving a cutting tool or a workpiece along five distinct axes simultaneously.

Which Country is Best for CNC Machining?
China is the best country for CNC machining service considering cost, precision, logistic and other factors. Statistical data suggests that China emerges as the premier destination for CNC machining.

Top 5 Prototype Manufacturing China
Selecting the right prototype manufacturing supplier in China is a critical decision that can significantly impact the success of your product development project.

CNC Machining Tolerances Guide
Machining tolerances stand for the precision of manufacturing processes and products. The lower the values of machining tolerances are, the higher the accuracy level would be.


