PLA not sticking to bed is a common issue in 3d printing. Another common problem is the elephant’s foot.
Today I’m going to show you how to make PLA stick to the bed (FAST).
In fact:
The strategies in this post helped me succeed in printing with PLA filament about 100%.
And today, I’m going to show you the exact bed adhesion tips that I used to get these results.
Click a section below to take a right to one of the strategies.
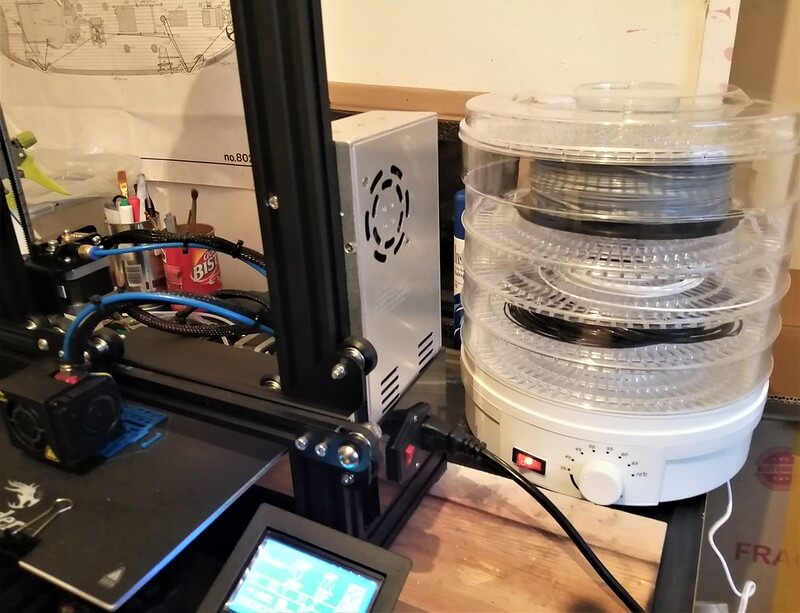
1. Baking PLA Filament
PLA saturated with moisture will undoubtedly lead to extrusion problems. If the extrusion is inconsistent, it will lead to layers plagued with gaps or holes. It also will lower the bed and layer-to-layer adhesion.
If you cannot print the first layer perfectly, then there’s a good chance that the material will not stick well to the print bed.
To avoid this problem, it is a good idea to dry your PLA filament before printing. You can either in an electric oven or a particular filament dehydrator. Make sure to keep the temperature below 50 C° to avoid fusing the filament.
This process may take a longer time (1-2 hours). It is still better than ruining an entire spool of PLA material.
Better yet, keep your PLA filament in an airtight container along with some desiccant. Standard zip-sealed bags work well enough for this purpose, although the desiccant may have to replace every few months. This method could ensure PLA filament does not turn brittle due to excessive moisture absorption.
2. Level The Bed To Get Same Distance
Even if you weren’t running into bed adhesion problems, making sure the print bed is perfectly leveled is something you need to do before 3D printing. Aside from assuring good bed adhesion, it also enhances stability and makes sure there is no distortion in the final print details.
Fortunately, most 3D printers already have automatic leveling functions. If this is the case for you, just run the bed leveling sequence for a few minutes before starting the 3D printing project.
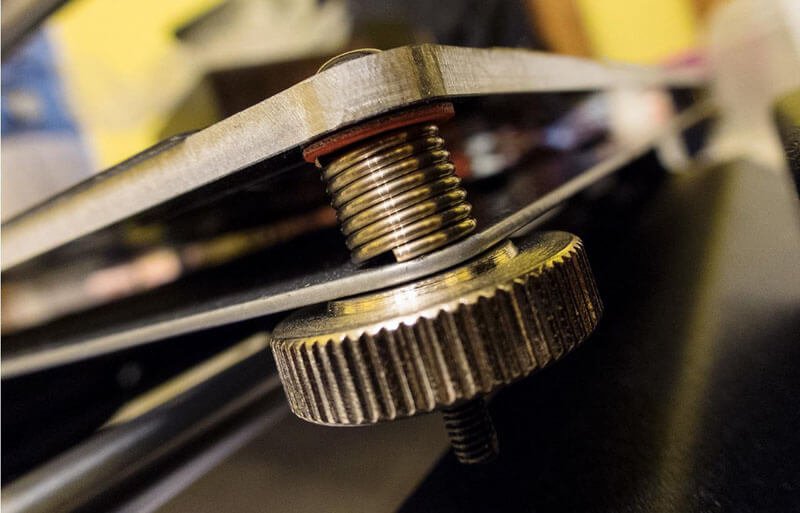
For 3D printers with no such function, you need to do bed leveling manually. You can adjust the bed knobs, usually located below the four corners of the print bed. The goal is to ensure that the print bed is at an equal distance from the nozzle at all points.
You can test this by sticking a piece of cardboard between the nozzle and the print bed. Do this test at various points of the bed, adjusting the knobs as necessary. With a bit of practice, you can finish the whole manual leveling sequence in less than five minutes.
3. Adjust Z-Offset Between Nozzle And Bed
If you’re still having bed adhesion issues despite a perfectly leveled bed, then your nozzle may be positioned too far away from the print bed. In terms of 3D printing parameters, We talk with this as the Z-offset.
For reference, you want your Z-offset to be a fraction of your layer thickness – about 80% is typical. This slightly squishes the filament against the bed, making it stick better. However, setting the Z-offset too low can result in molten filament getting dragged by the nozzle.
Although the Z-offset can be adjusted manually, you also set it via slicer software. Make sure to make only minimal adjustments to the Z-offset setting. You are moving the nozzle 0.05 millimeters at a time until you get a good base layer.
4. Ensure The Bed Is Clean
Frequently, Getting your PLA filament to stick is just a matter of cleaning your print bed. To maximize the filament’s adhesion to the bed, you need to be free of any foreign material or substance. This material includes specks of dust and dirt or even your thumbprints. Any leftover adhesive will also compromise the ability of the PLA filament to stick to the bed.
The best way to clean the print bed is to wipe it with a clean, damp cloth piece. If there is any stubborn adhesive residue, try to wipe it away with some acetone.
Whether you’re using a solvent or just plain water to clean your bed, make sure to dry the bed entirely before starting with 3D printing.
5. Use Bed Adhesive
Bed adhesive typically isn’t needed when printing with PLA. That’s one of the reasons why PLA is considered the easiest to use 3D printing filaments. However, using a bed adhesive is still an option if you’re having trouble getting your PLA filament to stick.
There are a lot of options for adhesives that are compatible with PLA. The good thing is that PLA can print at relatively low temperatures. This feature means that the bond does not need to be particularly heat-stable.
A layer of glue stick works well and is probably the most convenient option. If you’re feeling up to it, you can also cover your print bed with a layer of blue painter’s tape or Kapton tape.
More important than the choice of adhesive is making sure that you apply in it even coats. For glue sticks, the best strategy is to go over each print bed spot only once. It avoids excess adhesive application that could end up being difficult to remove.
For any type, make sure that none of the strips overlap each other and mess up the leveling of your bed. The process requires patience and a steady hand.

6. Slow Down First Layer Printing Speed
Recommending a single, absolute value for PLA printing speed is difficult. A lot of factors will have to be considered including the filament brand, diameter, printing temperature, and even the material of the nozzle.
Printing at low speeds generally encourages good bed adhesion. For PLA, this should be somewhere between 30 mm/s to 40 mm/s. This allows the PLA filament to cool down slowly, allowing it to better stick to the print bed.
7. Add Bed Temperature
Just like adhesives, a heated bed is also not a requirement when printing with PLA. However, it’s a huge help if you’re having bed adhesion problems. Setting the bed to any value between 60 to 70 °C significantly slows down the cooling process and helps alleviate thermal stress.
If you’re using an adhesive with a heated bed, make sure that the adhesive remains stable at elevated temperatures. You may also consider getting a glass build plate that heats up more evenly than metal.
8. Modify Cooling Fan Setting
If your 3D printer comes with a cooling fan, turn it off for the first two or three layers of your print. Again, the objective is to slow down cooling.
Once you are convinced the base layer has stuck adequately to the print bed, feel free to turn on the cooling fan at the maximum setting.
There isn’t a single guide that can tell you the perfect 3D printer settings to solve your bed adhesion problems. The truth is that there are just too many factors involved.
Getting the perfect settings for your specific setup will involve a lot of trial and error. PLA is a very forgiving material, though, and getting it to perform as you expect should not be very difficult.
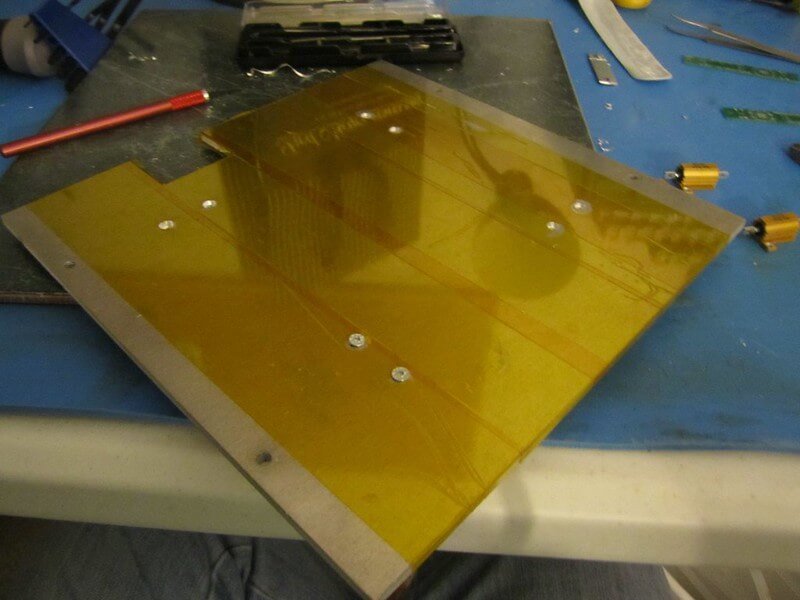
9. Change The Build Plate
If you’ve done all the steps so far but are yet to solve the adhesion problem, then it might have something to do with your print bed. Tiny dents or scratches, even barely visible ones, can mess up your bed’s leveling. Build plates made of metal are particularly prone to warping after heavy use.
For a build plate that will last longer than metal, you may want to consider getting a replacement made of borosilicate glass. Unlike metal, glass does not warp and heats up more evenly. The perfectly smooth surface of a glass build plate transfers well to the bottom side of your finished 3D printing projects. However, glass is prone to abrasion, so be very careful when using sharp tools to pry off finished prints from the bed.
10. Use An Enclosure To Balance Temperature
Another method is to print inside an enclosure. Some 3D printers already have built-in chambers, so this might already be a given if you’re lucky.
If your printer does not have one, you can buy it as a third-party accessory or build your essential materials. Even plastic sheets draped on a frame made of plastic tubing will do just fine.
The entire point of an enclosure is to isolate the build chamber from the environment’s cooling effects. This means that heat loss to the surroundings will be kept to a minimum.
Printing in an enclosure may not be necessary for PLA, it’s always an available option if you’re having bed adhesion troubles. However, high-temperature filaments like ABS or Polycarbonate are almost impossible to use without an enclosure.
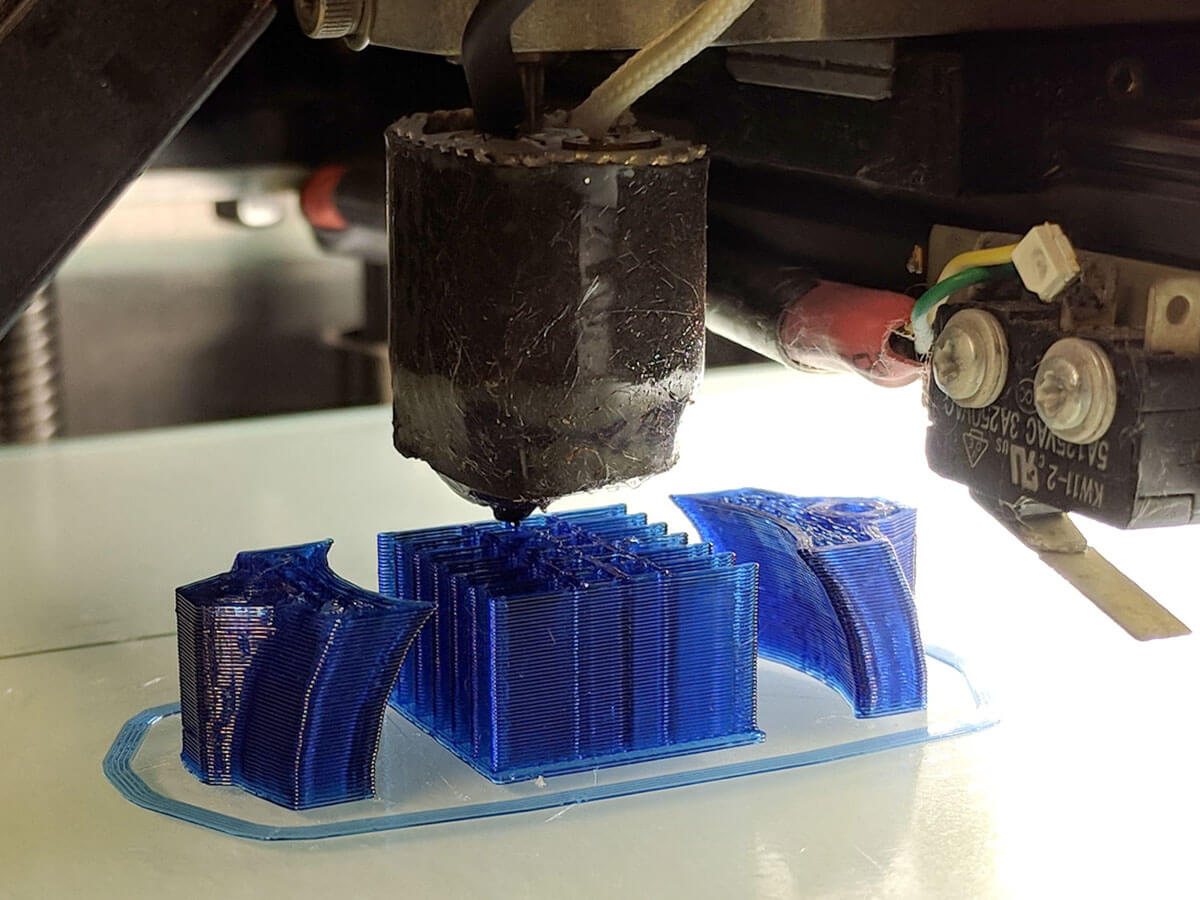
11. Rafts and Brims
In 3-D printing, the use of rafts and edges can significantly improve bed adhesion. While they are often recommended for high-temperature filaments such as ABS and PETG, they can also be beneficial for PLA.
The raft is a 3D printing platform on which the model is printed. It sits underneath the model and provides a base that helps with bonding. The raft also creates a flat print surface if the print bed is uneven or damaged.
The brim, on the other hand, is the print border that touches the edge of the model, like the brim of a hat. The rim increases the surface area of the model’s base, helping to secure it to the build plate and improve stability.
Read more: Raft vs Brim
However, it is also important to note that both the raft and the brim must be removed after printing.
This also means increased post-processing time and the use of additional filament, leading to more waste and higher material costs.
This is why this method is generally not used.
Now It’s Your Turn
3D printing can present some challenges, such as PLA non-stick beds or common “elephant foot” defects. However, understanding and addressing these issues can lead to successful prints and highlight the value of 3D printing.
I hope this post showed you how to make PLA stick to the bed using easy, utility tips.
Now I’d like to know which method in the post are you use frequently?
Let me know the comment if you take action in the post or have another way.
FAQ
Why Does My PLA Not Stick to The Bed?
High print speed can affect bed adhesion. If the speed is too high, the filament may not have enough time to stick to the build plate before the next layers are printed. This increases the risk of warping and peeling.
How Do I Stop PLA From Lifting?
Applying adhesive glue to the build plate is an effective method to prevent warping. Common adhesives include hairspray, PVA glue sticks, blue painter’s tape, polymer adhesives, or proprietary build plate tapes.
What Should The Bed Temperature Be For PLA?
The recommended bed temperature for PLA is 70°C. Ensuring your bed is level and the extruder is at the right height is crucial, especially when printing on glass.
How Often Should I Level the Bed?
Level the 3D printer bed regularly, especially if you notice printing issues like poor bed adhesion. Regular leveling helps prevent adhesion problems and ensures consistent, high-quality prints.